How to Rehydrate Sourdough Starter: A Step-by-Step Guide
Learn how to rehydrate sourdough starter to launch your sourdough baking journey. In this post, I'll take you through the simple steps to bring your dehydrated sourdough back to its lively, active state.
This post may contain affiliate links, which means if you click through and purchase, I may receive a commission at no cost to you. As an Amazon Associate, I earn from qualifying purchases.
Understanding Sourdough Starter
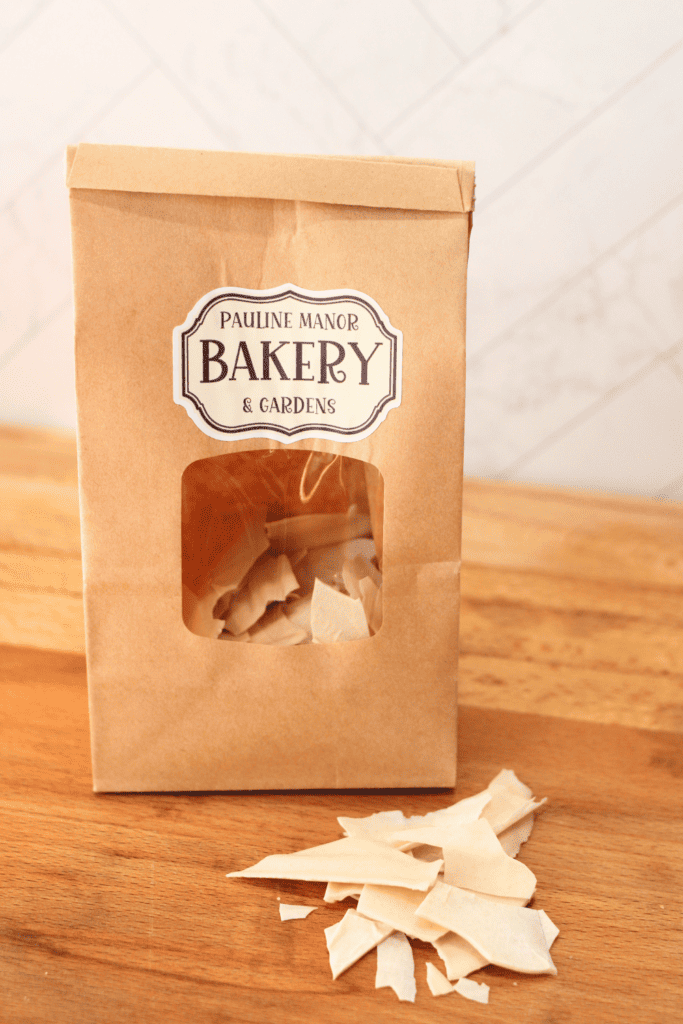
Before diving into the rehydration process, let's briefly understand what a sourdough starter is and how it works. Simply put, a sourdough starter is a mixture of flour and warm water that naturally becomes inhabited by wild yeast and bacteria. These microorganisms are what give sourdough its characteristic flavor and leavening ability without the use of additional ingredients. A dehydrated sourdough starter is simply a dried form of this mixture, with the microorganisms lying dormant until reactivated (rehydrated.)
Gather Your Tools
To begin rehydrating your sourdough starter, you'll need:
- Dehydrated sourdough starter
- Unbleached all-purpose flour (I prefer King Arthur Bread Flour)
- Warm water
- A clean glass jar with a lid
- A kitchen scale (optional but recommended)
- A spoon or spatula for stirring
How to Rehydrate Sourdough Starter
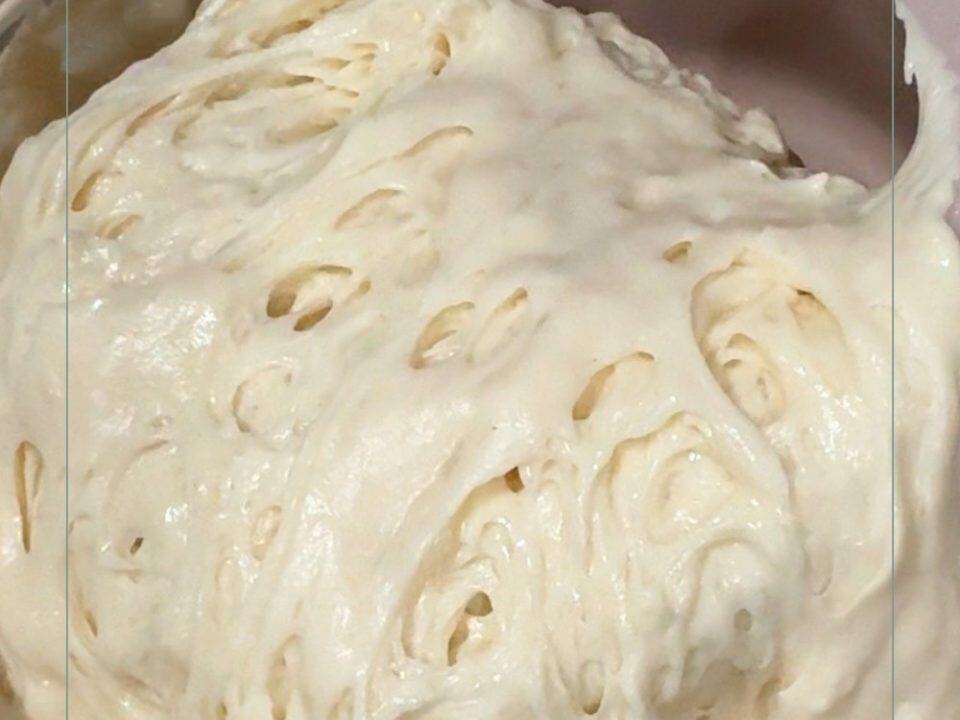
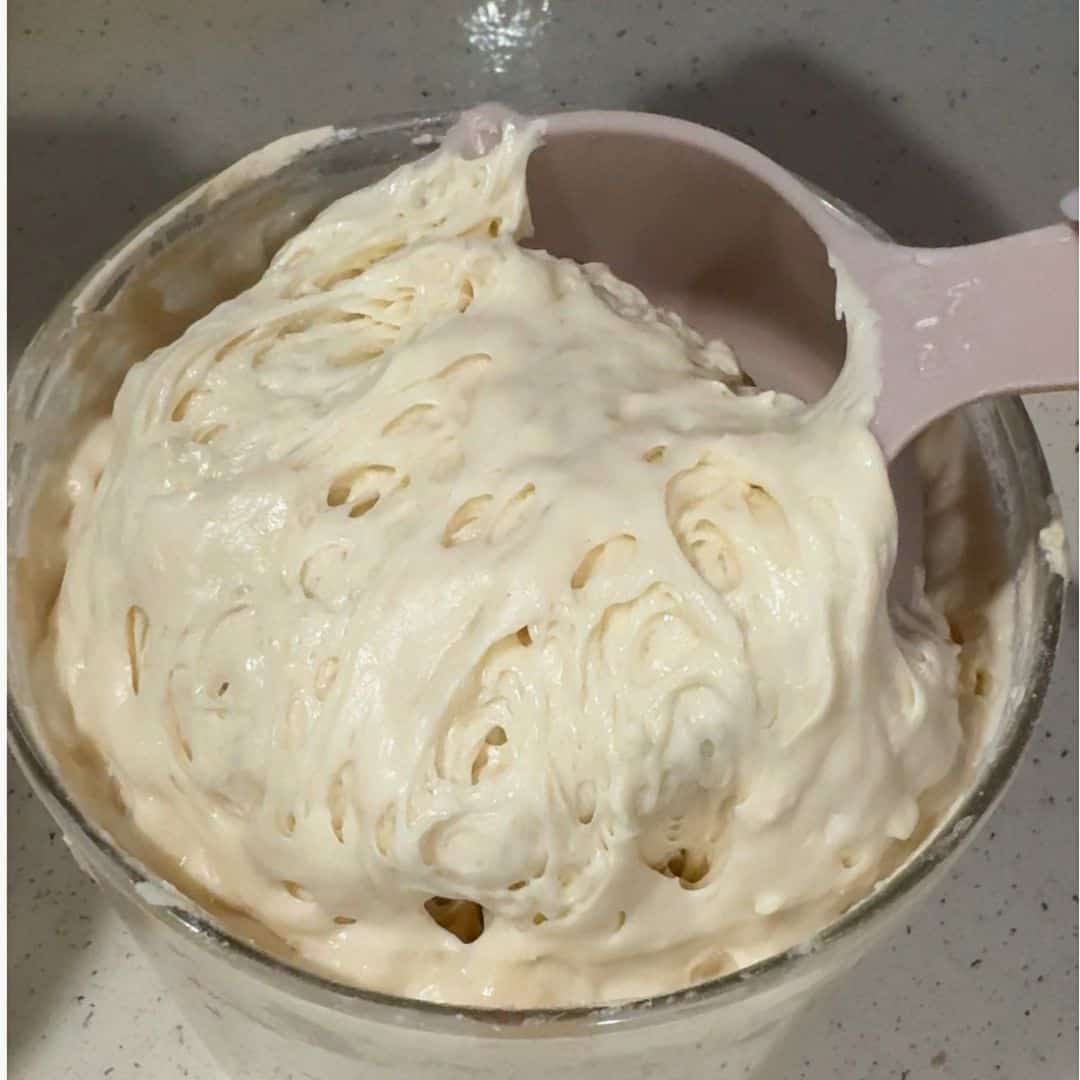
In your glass jar, mix 1 tablespoon of starter with 3 tablespoons of warm water. It is ok to crush the larger pieces of dehydrated starter to make dissolving easier. Stir until the dehydrated starter has dissolved. Let sit for about five minutes. Mix in about 2 tablespoons of bread flour. Use the spoon or spatula to thoroughly mix everything together until you have a smooth, lump-free mixture that has a grainy pudding-like consistency. Ensure that all the dehydrated sourdough is fully incorporated into the mixture.
Let it Rest
Once mixed, cover the jar loosely with the lid or a clean kitchen towel. Allow the mixture to rest at room temperature, ideally around 70°F (21°C) for 24 hours. This resting period gives the microorganisms from the dehydrated sourdough starter a chance to fully rehydrate and become active again.
Feed Your Starter
The next day, check on your sourdough starter. You should start to see some bubbles forming on the surface, indicating that the wild yeast is becoming active. At this point, it's time to feed your starter. Add another 2 tablespoons of warm water and 2 tablespoons of bread flour. Cover and set back into a warm spot to rest.
Continue Feeding
For the next few days, continue to feed your sourdough starter at least once a day, increasing the amount of water and flour by 50% each day. Every time you want the consistency to be that thick pudding consistency. Make sure you do not go longer than 24 hours between feedings.
Each time you feed it, discard a little bit of the starter before adding fresh flour and water. This helps maintain the balance of microorganisms and prevents your starter from becoming too acidic. To avoid wasting your discard, you can try these Sourdough Discard Recipes which are a great way to learn how sourdough starter works even before tackling your first official loaf.
Watch for Signs of Activity
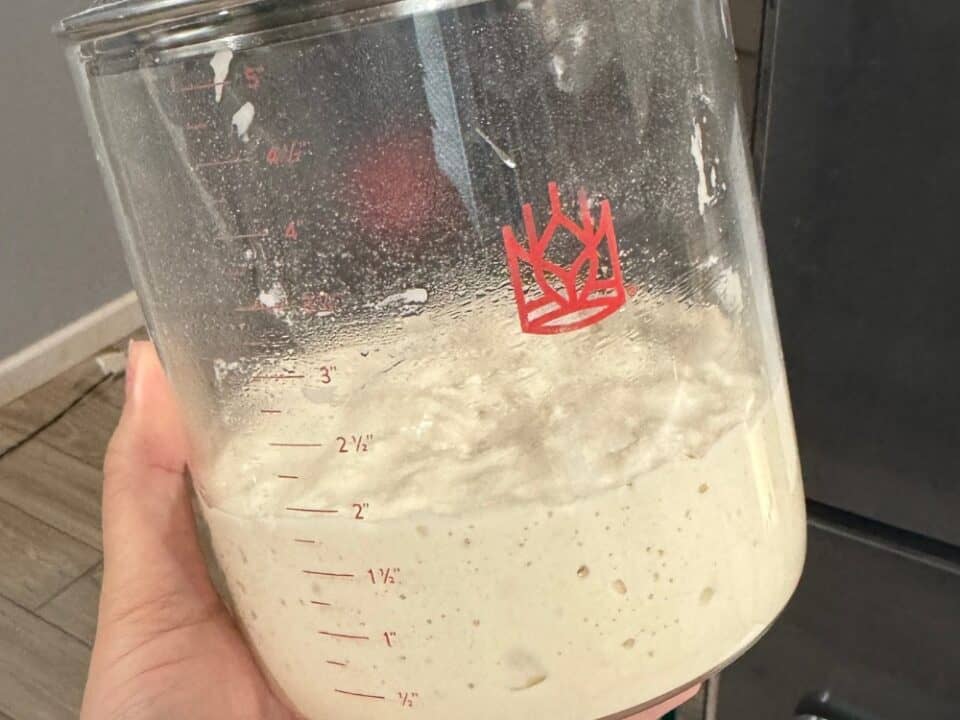
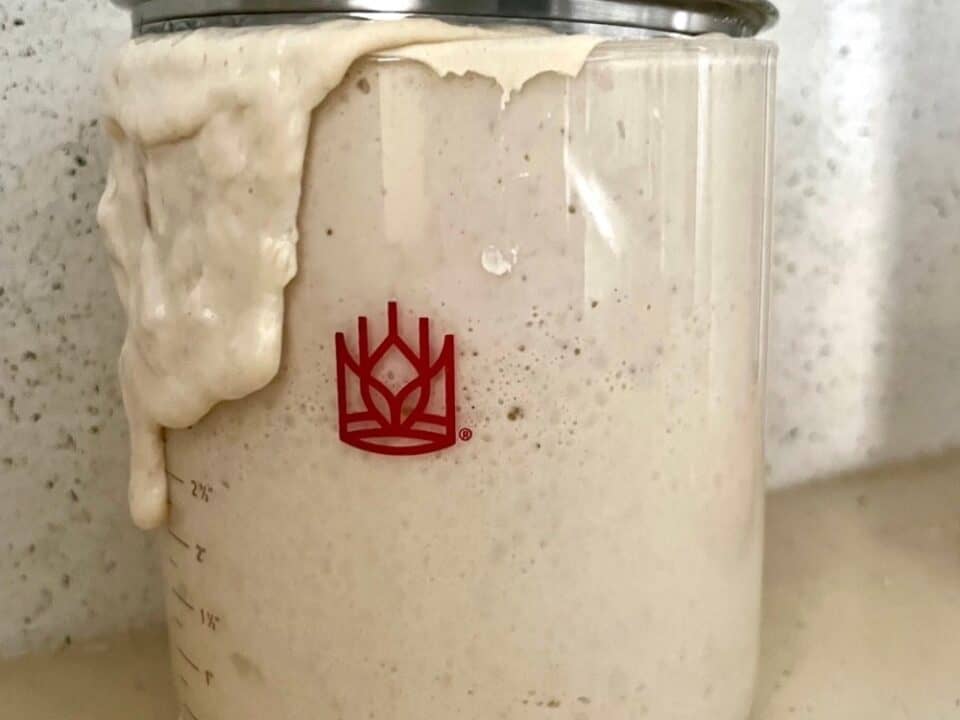
As you continue to feed your sourdough starter, watch for signs of activity. It should start to rise and fall predictably between feedings, indicating that the wild yeast is thriving. You'll also notice a pleasant sour aroma developing, a sign that the fermentation process is well underway.
It is important to note that if your sourdough starter smells like alcohol or acetone, that means that it is “hungry” – increase the frequency of your feedings to every 12 hours until a pleasant sour smell returns.
If your sourdough starter starts to mold, turn a pinkish color, or smell strongly like vinegar, throw it away, thoroughly clean your jar, and start over.
Ready to Bake
Once your sourdough starter is consistently doubling in size between feedings and has a strong, tangy aroma, it's ready to use in your bread recipes. Remember to always reserve a small portion of the starter to keep it going for future bakes.
Here is my favorite Classic Sourdough Loaf Recipe that makes the perfect loaf every time.
A Couple Notes
It is hard to really “mess up” sourdough starter. As long as you are feeding it regularly with good-quality flour and warm water, it should be just fine. Continue discarding and feeding no less than once per day for 2-3 weeks before giving up.
Some starters may be more sluggish than others, and that is perfectly ok. Even a sluggish starter can become a healthy, active stater with the right TLC. If your starter does not show signs of activity, increase feedings to twice per day.
Sourdough breadmaking has been around for many, many years – long before we had fancy tools or even central heating and air conditioning! Trust the process – you can totally do this.
If you need help, feel free to reach out to me on Instagram or via email lynsey@paulinemanor.com

