
If you've spent any time looking up sourdough recipes online, you've probably noticed that people make sourdough in a variety of different ways. Some recipes have you mix only the flour and water first, others have you wait to add the salt, and some have what feels like a dozen different resting periods before you ever get to bake the loaf.
After baking hundreds of loaves here at Pauline Manor, I've found that my favorite method is also the simplest.
This post may contain affiliate links, which means if you click through and purchase, I may receive a commission at no cost to you. As an Amazon Associate, I earn from qualifying purchases.
I mix everything together from the very beginning to make my sourdough loaves. I've tried the more complicated methods, and while they certainly work, I haven't found enough of a difference to justify the extra steps in my own kitchen. This recipe consistently produces the artisan-style sourdough loaves I sell every week, and it's the exact process I still use today.
If this is your very first loaf, don't worry about making it perfect. Sourdough is a skill that gets better with practice, and every loaf teaches you something new.
Before You Begin
Before mixing your dough, make sure your sourdough starter is active and ready to bake with. A healthy starter should have recently doubled in size, be full of bubbles, and smell pleasantly tangy.
You'll also want a digital kitchen scale. Measuring by weight is far more accurate than using measuring cups and will give you much more consistent results.
For this recipe, I also recommend a Dutch oven for baking. It traps steam during the first part of the bake, helping create the crisp crust and beautiful oven spring sourdough is known for.
If you have a banneton basket, great. If not, a bowl lined with a well-floured kitchen towel works just fine.
Ingredients
- 100 grams active sourdough starter
- 325 grams warm water
- 500 grams bread flour
- 10 grams fine sea salt
A note about hydration: This recipe uses 325 grams of water (65% hydration), which creates a dough that's easier for beginners to handle. Here in the hot, humid Florida panhandle, I've found this hydration gives me consistently beautiful loaves without the dough becoming overly sticky. As you gain experience, you can always experiment with higher hydration recipes, but I think this is one of the easiest places to start.
Step 1: Mix Everything Together
Add the warm water and active sourdough starter to a large mixing bowl and whisk or stir until the starter is completely dissolved and the water looks milky and slightly frothy.
Add the flour and salt, then mix until all of the flour is fully hydrated and no dry spots remain. The dough will look shaggy and a little sticky at this stage, and that's exactly what you want. The dough will look rough, shaggy, and a little sticky. That's exactly what you're looking for.
Don't worry about kneading it smooth. The dough will strengthen naturally as it rests and during the stretch and folds.
Cover the bowl and let it rest for one hour.
Step 2: Perform Stretch and Folds
After the first hour, perform one set of stretch and folds.
Grab one side of the dough, gently stretch it upward without tearing it, and fold it back over itself. Turn the bowl a quarter turn and repeat until you've worked your way around all four sides.
Cover the bowl again and let it rest for another hour.
Repeat this process for a total of three to four sets of stretch and folds, spaced about an hour apart.
Each round will feel easier than the last as the dough becomes smoother, stronger, and more elastic.
Step 3: Bulk Fermentation
Once you've completed your stretch and folds, allow the dough to continue fermenting until it has increased in size by roughly 50 percent.
This stage is called bulk fermentation, and it's one of the most important parts of making sourdough.
Rather than watching the clock, watch your dough.
A properly fermented dough should feel lighter than when you mixed it, have bubbles forming along the sides or top, and jiggle slightly when you gently shake the bowl.
Depending on the temperature of your kitchen, this can take anywhere from a few hours to considerably longer. Every starter and every home is different.
Step 4: Shape the Dough
Lightly flour your work surface and gently turn the dough out of the bowl.
Using a bench scraper or your hands, shape the dough into a loose round and let it rest for about 20 minutes.
After the bench rest, perform your final shaping by gently tightening the surface of the dough. This creates surface tension, which helps the loaf hold its shape while baking.
Place the dough seam-side up into a well-floured banneton or towel-lined bowl.
Step 5: Cold Proof Overnight
Cover the dough and place it in the refrigerator overnight.
The cold proof slows fermentation while allowing the flavor to continue developing. It also makes the dough much easier to score before baking.
I typically leave mine in the refrigerator anywhere from 12 to 18 hours.
Step 6: Bake
Preheat your oven to 450°F with your Dutch oven inside.
When the oven is fully preheated, carefully remove the hot Dutch oven.
Turn the dough onto a piece of parchment paper, score the top with a sharp lame or razor blade, and carefully lower it into the Dutch oven.
Bake with the lid on for 30 minutes.
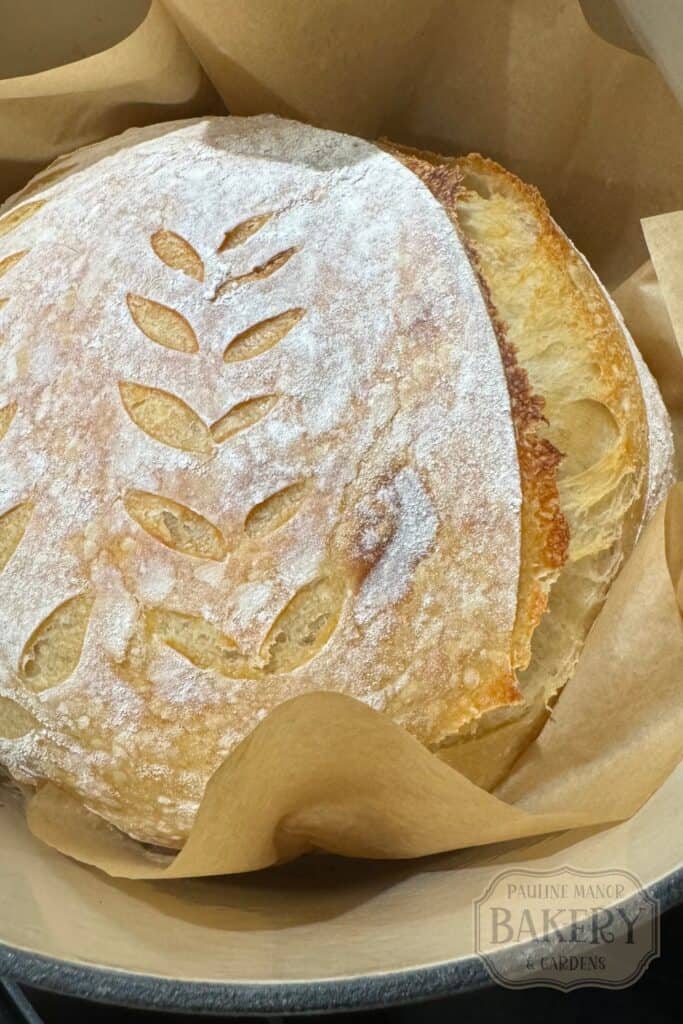
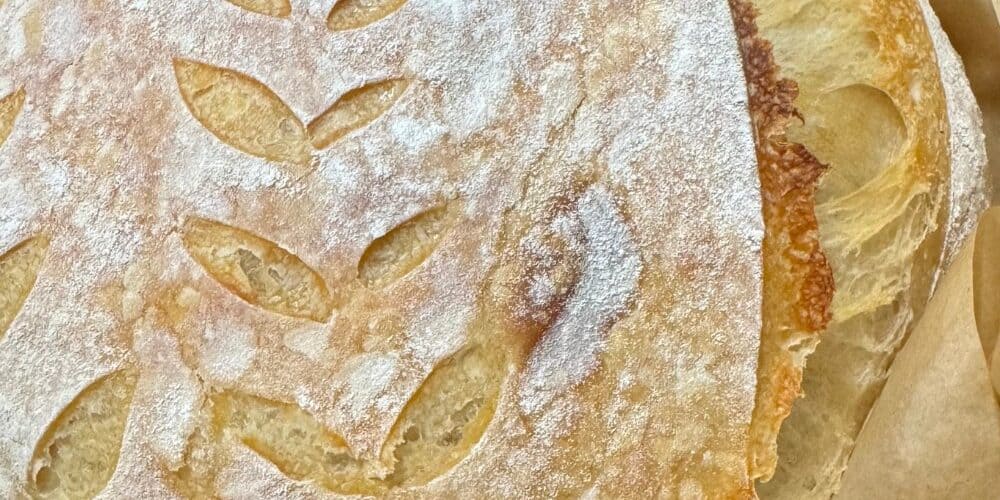
Remove the lid and continue baking for another 15 to 20 minutes, or until the crust is a deep golden brown.
Allow the bread to cool completely before slicing. I know it's tempting to cut into it while it's warm, but letting it cool allows the crumb to finish setting and gives you a much better texture.
Tips for Your First Loaf
If there's one thing I've learned over the years, it's that sourdough rewards patience far more than perfection.
Use an active starter that has recently reached its peak rather than one that's been sitting unfed on the counter.
Measure your ingredients by weight instead of volume. A kitchen scale is one of the best investments you can make if you plan to bake sourdough regularly.
Don't become discouraged if your first loaf isn't picture-perfect. Every baker has baked flat loaves, over-proofed dough, and bread that looked nothing like the photos online. That's simply part of learning.
Most importantly, pay attention to what your dough is telling you instead of focusing only on the clock. Temperature, humidity, flour, and even the season can all change how quickly sourdough ferments.
Frequently Asked Questions
Can I use all-purpose flour instead of bread flour?
Yes, although bread flour generally produces better gluten development and a slightly chewier texture. All-purpose flour will still make a delicious loaf.
Can I skip the overnight refrigerator proof?
Yes, but I don't recommend it for beginners. The overnight proof develops more flavor and makes the dough much easier to handle and score.
My dough feels sticky. Is that normal?
Absolutely. Sourdough is naturally stickier than many yeast breads. Resist the urge to keep adding flour, as doing so can make the finished loaf dense.
How do I know when the bread is finished baking?
The crust should be a rich golden brown, and the loaf should sound hollow when tapped on the bottom. If you prefer using a thermometer, the internal temperature should be around 205 to 210°F.
Final Thoughts
Sourdough has a reputation for being complicated, but it doesn't have to be. Once you understand the basic rhythm of mixing, resting, stretching, fermenting, shaping, and baking, the process starts to feel surprisingly natural.
This is the same simple method I use here at Pauline Manor because it consistently produces beautiful loaves without adding unnecessary steps. As you gain confidence, you'll naturally begin making small adjustments based on your own kitchen, your starter, and your baking style.
Your first loaf probably won't be perfect, and that's okay. Mine certainly wasn't. Keep baking, keep paying attention to your dough, and before long you'll find yourself relying less on the recipe and more on what you've learned along the way.
Classic Sourdough Loaf
Ingredients
- 100 grams sourdough starter active
- 325 grams water warm
- 10 grams salt
- 500 grams bread flour
Instructions
- Mix: Whisk together the warm water and active sourdough starter until dissolved. Add the flour and salt, then mix until no dry flour remains. Cover and rest for 1 hour.
- Stretch & Fold: Perform one set of stretch and folds. Cover and rest 1 hour. Repeat for a total of 3–4 sets.
- Bulk Ferment: Let the dough rise until it has increased by about 50% and looks light and bubbly.
- Pre-Shape: Turn the dough onto a lightly floured surface, shape into a loose ball, and rest for 20 minutes.
- Shape: Shape into a tight round or oval and place seam-side up in a floured banneton or towel-lined bowl.
- Cold Proof: Cover and refrigerate for 12–18 hours.
- Bake: Preheat oven and Dutch oven to 500°F. Turn dough onto parchment, score, and place in Dutch oven. Reduce oven to 450°F, bake covered for 20 minutes. Remove the lid, reduce oven to 425°F, and bake 15–20 minutes more until deep golden brown.
- Cool: Cool completely on a wire rack before slicing.
Recipe Notes