
Learning the difference between underproofed vs overproofed sourdough is one of the biggest steps toward baking consistent, beautiful loaves at home. In this post, I am going to explain what those words actually mean in simple terms, what to look for when you cut into your bread, and how to tell if your dough just needed more time to rise or if it rose for too long so your next loaf will be perfect.
Before we go any further, let’s clear up one common comparison. Homemade sourdough is not supposed to feel like the sourdough loaf you grab at the grocery store. Real sourdough that is made with flour, water, salt, and a starter will usually be a little chewier and more structured than commercially made sourdough.
Store-bought sourdough is often made with commercial yeast and ingredients that make it extra fluffy and uniform. If your homemade bread feels slightly denser than store-bought bread, that alone does not mean you did anything wrong or that your sourdough isnt “right.”
Underproofed vs Overproofed Sourdough at a Glance
Understanding the difference between underproofed vs overproofed sourdough is one of the biggest hurdles for new sourdough bakers. Both problems can leave you with a loaf that looks or feels disappointing, but they happen for opposite reasons.
An underproofed loaf simply did not have enough time to ferment before it went into the oven. The yeast had not finished producing enough gas to fully expand the dough, so the loaf often comes out dense, uneven, or gummy.
An overproofed loaf has the opposite problem. The dough spent too much time fermenting, and the gluten structure became too weak to hold onto the gas it had already produced. Instead of rising taller in the oven, the loaf often spreads outward or collapses slightly.
The encouraging part is that both problems are fixable. Once you learn what the dough should look and feel like before baking, you'll spend far less time guessing whether it is ready for the oven. The rest of this guide will show you exactly what to look for, both before and after baking, so you can tell whether your sourdough was underproofed or overproofed.
What Underproofed Sourdough Looks Like
Underproofed sourdough means the dough did not rise long enough before baking. The yeast from your starter did not have enough time to create and spread gas evenly throughout the dough.
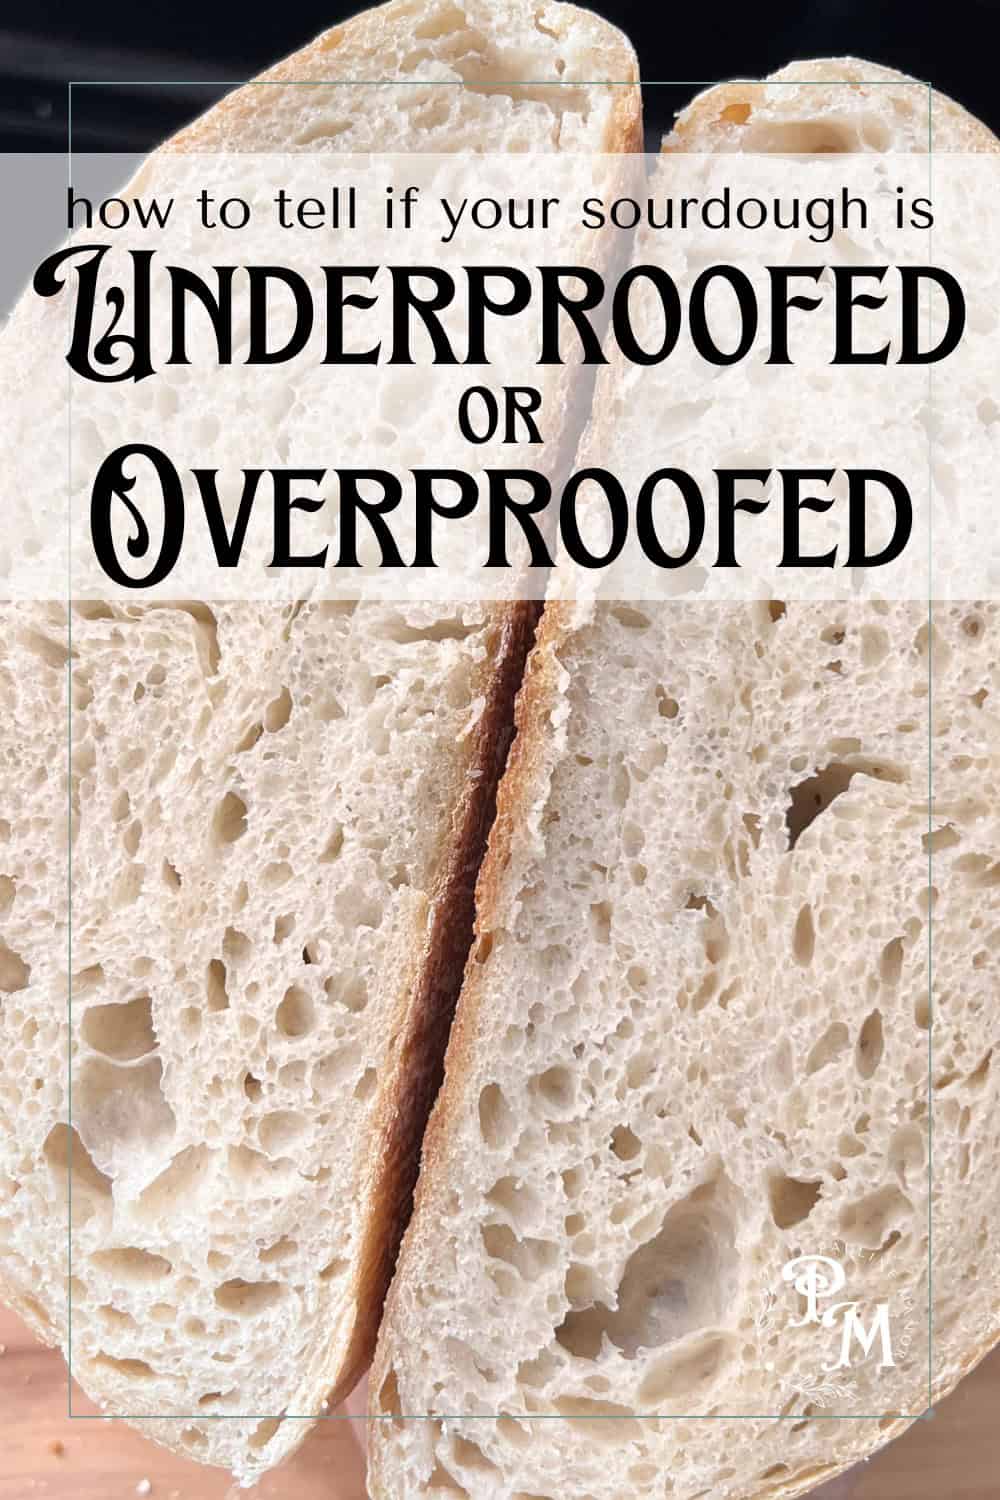
When you cut into an underproofed loaf, the inside often looks uneven. The bottom half may look tight and compressed, almost like the bread did not fully open up. The top half may have a few larger holes, but they tend to look random and scattered instead of evenly spaced.
The texture can feel slightly gummy or sticky in the center, even if the crust looks dark and fully baked. The bread might feel heavier than expected when you pick it up. The flavor may also taste mild and less developed.
Another sign of underproofing is what happened in the oven. If your loaf split along the side or bottom instead of opening neatly where you scored it, that can be a clue. The dough tried to do most of its rising in the oven because it did not rise enough beforehand.
Flat bread by itself does not automatically mean underproofed, but flat bread combined with a dense bottom and uneven inside is a strong sign that it needed more time.
What Underproofed Dough Feels Like Before Baking
You can sometimes tell your dough is underproofed before it even goes into the oven.
When you gently press the dough with your finger during its final rise, the dent will usually spring back quickly and almost completely. That quick bounce back means the dough is still tight and has not expanded enough.
Underproofed dough also tends to feel firm and slightly heavy when you lift it. It may not have that soft, airy feel that fully risen dough develops.
These signs can be subtle at first, but once you start paying attention to how your dough responds to touch, you will notice patterns.
What Overproofed Sourdough Looks Like
Overproofed sourdough is the opposite problem. It means the dough rose too long and started to lose strength.
When the dough rises, the gluten structure stretches to hold the gas. If it rises too long, that structure can weaken and begin to collapse. When you bake overproofed dough, it usually does not rise much in the oven.
When you cut into an overproofed loaf, the inside may look tight all the way through, or it may look slightly collapsed. The bread can feel soft but fragile, almost like it deflated. Sometimes the texture can also feel slightly gummy because the structure was not strong enough to support itself.
Overproofed loaves often spread outward instead of rising upward. The loaf may look wider and flatter than you expected. The score line may not open well, and the bread can look smooth on top instead of expanding dramatically.
Related article: What To Do With Overproofed Sourdough
What Overproofed Dough Feels Like Before Baking
You can often spot overproofing before baking as well.
When you press the dough gently with your finger, the dent may stay there and not spring back at all. The dough can feel overly soft and delicate, almost like it is on the verge of collapsing.
If the dough feels slack and difficult to handle, or if it deflates easily when you move it, it may have gone too far.
A simple way to think about it is this. Underproofed dough feels tight and springs back quickly. Overproofed dough feels weak and does not spring back much at all.
Why This Usually Starts During the First Rise
Most proofing issues actually begin during the first rise, which is often called bulk fermentation. This is the stage after you mix the dough and let it rise before shaping it.
If you cut that stage short, the dough may never fully develop enough gas and strength. That leads to underproofing later on. If you let it go too long, especially in a warm kitchen, the dough can become overproofed before you even shape it.
Instead of watching the clock only, start watching the dough. During the first rise, it should increase in size and feel lighter and smoother. It should not feel dense and tight when you shape it.
Temperature also matters more than most beginners realize. Dough rises faster in warm kitchens and slower in cool ones. Your dough may need more or less time than a recipe suggests depending on your space.
How to Build Confidence as a Beginner
Once you understand underproofed vs overproofed sourdough, it becomes much easier to adjust your timing and improve each loaf. If you are just getting started, the best thing you can do is observe and take notes. Notice how your dough looks before baking. Notice how it feels when you press it. Notice how the inside looks when you cut into it.
Do not compare your bread to dramatic photos online. Many of those loaves are made with very high water content and shaped in specific ways for a dramatic look. Good sourdough does not need giant holes to be successful.
Your goal is simple. You want the dough to rise enough to feel light and airy, but not so long that it collapses and loses strength.
If you think your loaf was underproofed, try giving it a little more time during the final rise next time. If you think it was overproofed, try baking it a bit sooner. Small adjustments make a big difference.
Using an Aliquot Jar to Track Fermentation
If you are still trying to figure out whether your dough has risen enough, an aliquot jar can make that much clearer. An aliquot jar is simply a small container where you place a small piece of your dough at the start of the first rise so you can watch how much it expands over time. Instead of guessing whether your dough has grown enough in a big bowl, you can actually see the percentage of rise in a small, marked jar sitting right next to it.
I recently came across a Sourdough Aliquot Jar Set with Pump and Stand, and it is especially helpful if you are new and still building confidence. The stand keeps everything steady and the markings make it easy to see when your dough has risen thirty, forty, or fifty percent. Being able to see that growth visually helps connect what you are looking at with how the dough feels. If you tend to second guess whether your dough is underproofed or overproofed, this is one of those simple tools that can quietly take a lot of the guesswork out of the process.

Place a small dough sample in the jar and watch it rise. The clear markings show progress in 10% increments so you know when your dough has reached your target rise — no more relying only on timers or hunches.
Sourdough can feel confusing in the beginning, especially when words like underproofed and overproofed get thrown around without explanation. Once you understand that it really comes down to timing and structure, it becomes much less mysterious. With practice, you'll start to recognize the signs, make small adjustments with confidence, and trust what your dough is telling you.
FAQ
Can you save underproofed sourdough?
If you catch it before baking, yes. Give the dough more time to continue proofing until it has expanded and responds appropriately to the finger poke test.
Can you save overproofed sourdough?
Sometimes. Mildly overproofed dough can often still be baked, while severely overproofed dough may be better suited for focaccia or another flatter bread.
Is dense sourdough always underproofed?
No. Dense bread can also result from weak gluten development, insufficient fermentation, poor shaping, or cutting the loaf before it has fully cooled.
What is the finger poke test?
The finger poke test involves gently pressing the dough with a floured finger. Dough that springs back quickly is usually underproofed, while dough that barely springs back may be overproofed.