
How To Strengthen Your Sourdough Starter
If your sourdough starter feels sluggish, overly sour, inconsistent, or like it refuses to help your dough gain any real strength, there is nothing wrong with you as a baker. A weak starter is one of the most common sourdough mistakes people face, and the good news is that it is extremely fixable. When a starter is strong, you will see it rise higher, smell sweeter, and produce dough that stretches instead of tearing. Here is how to strengthen your starter in a simple, repeatable way that works in a warm, humid kitchen and a busy life.
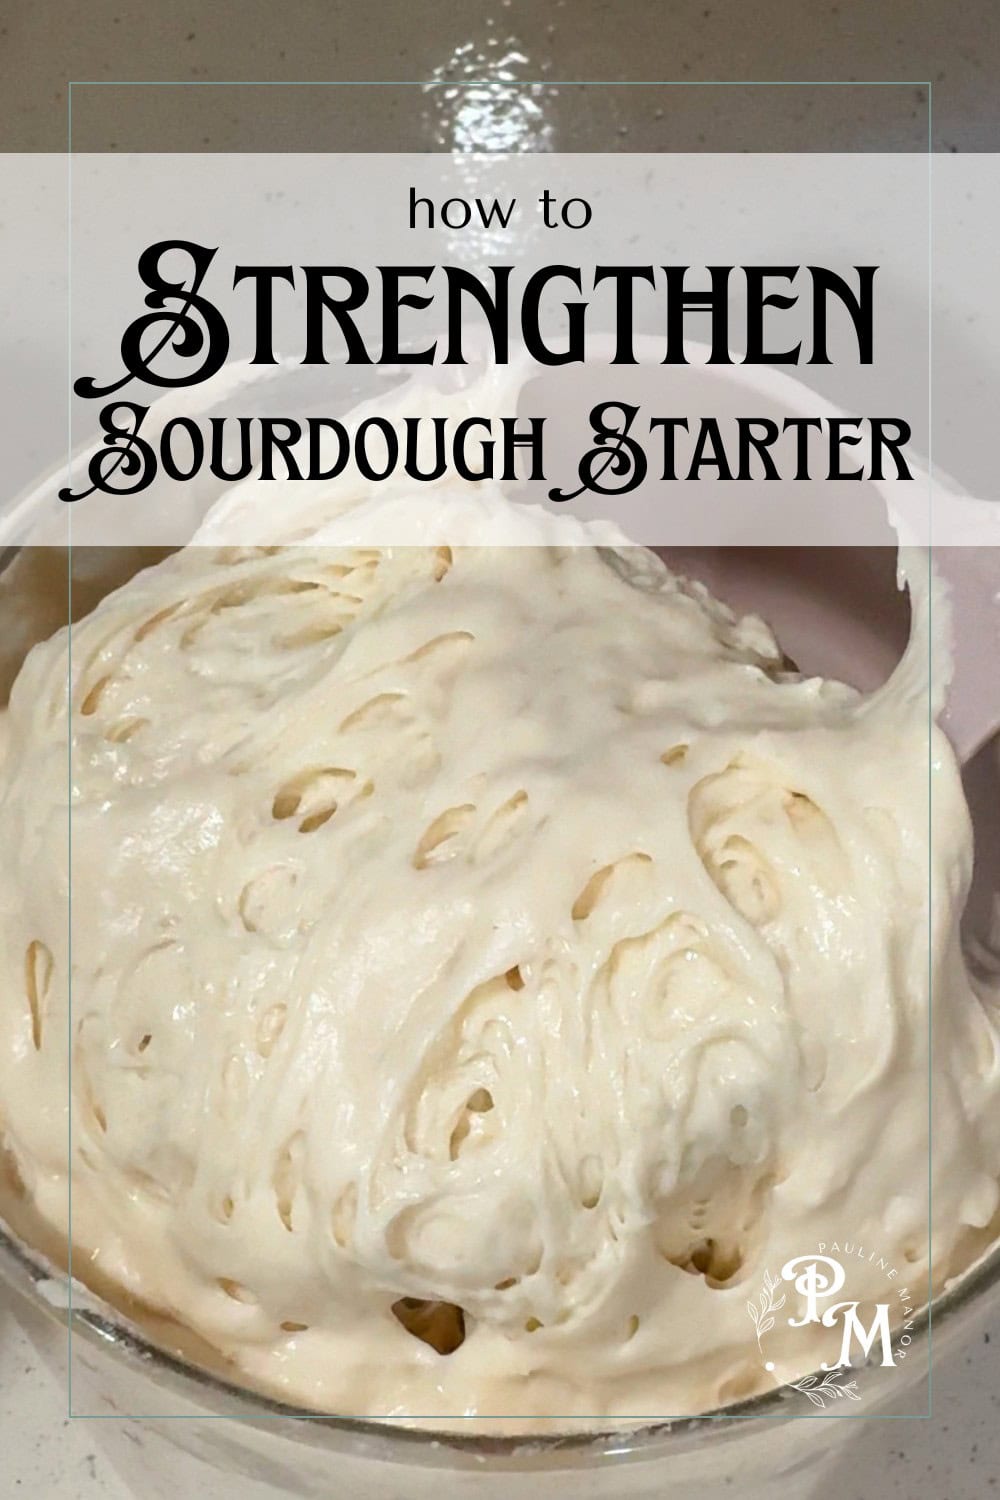
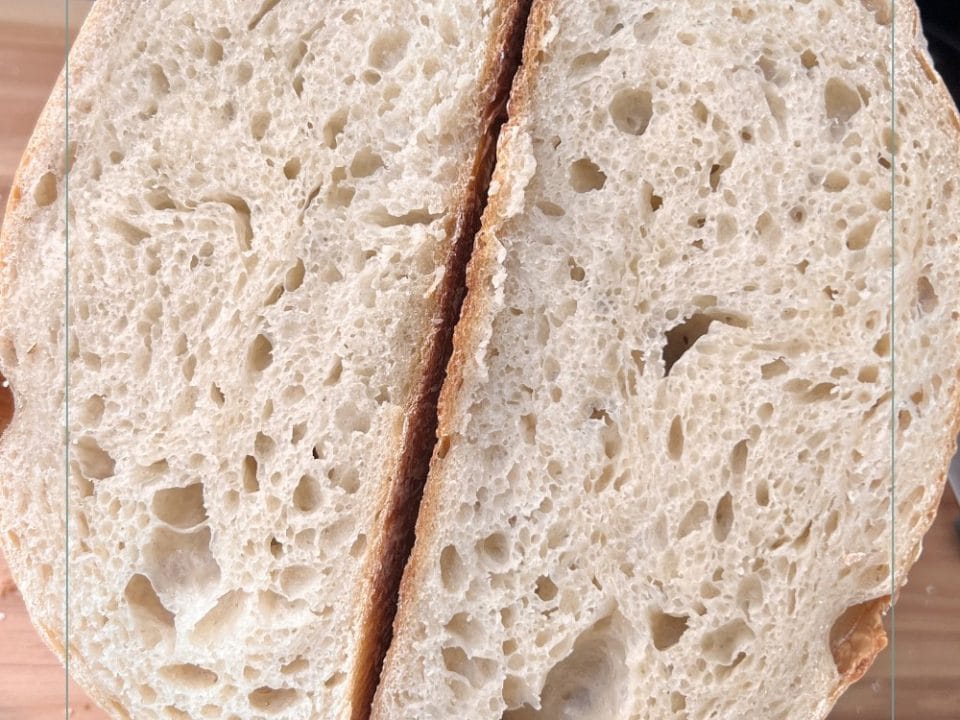
What a Strong Starter Actually Looks Like
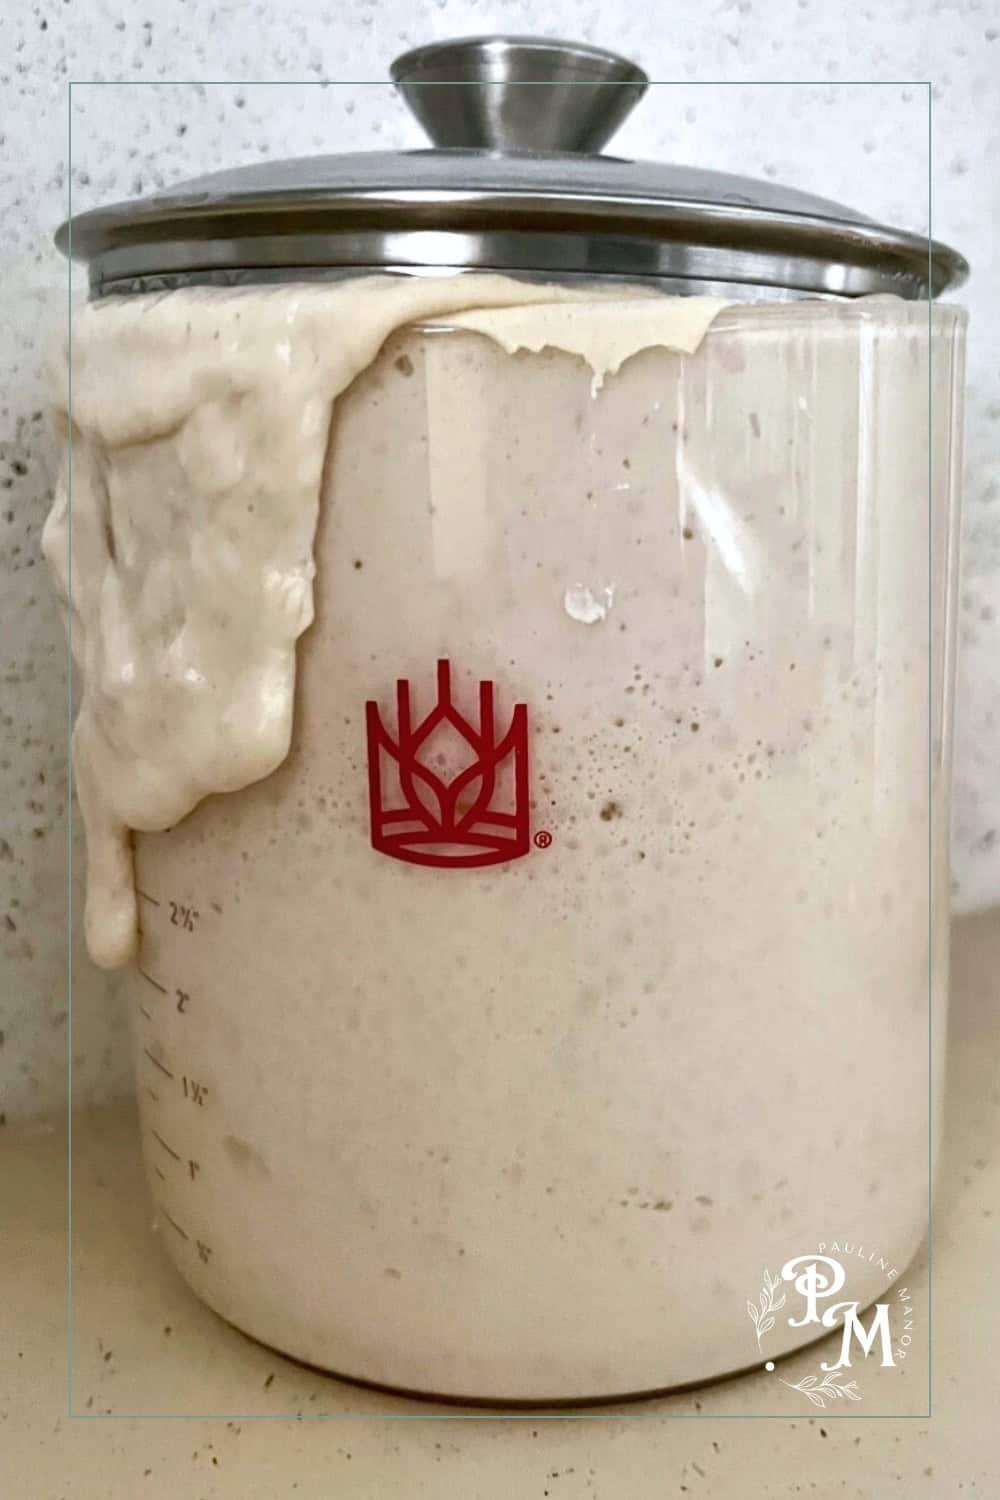
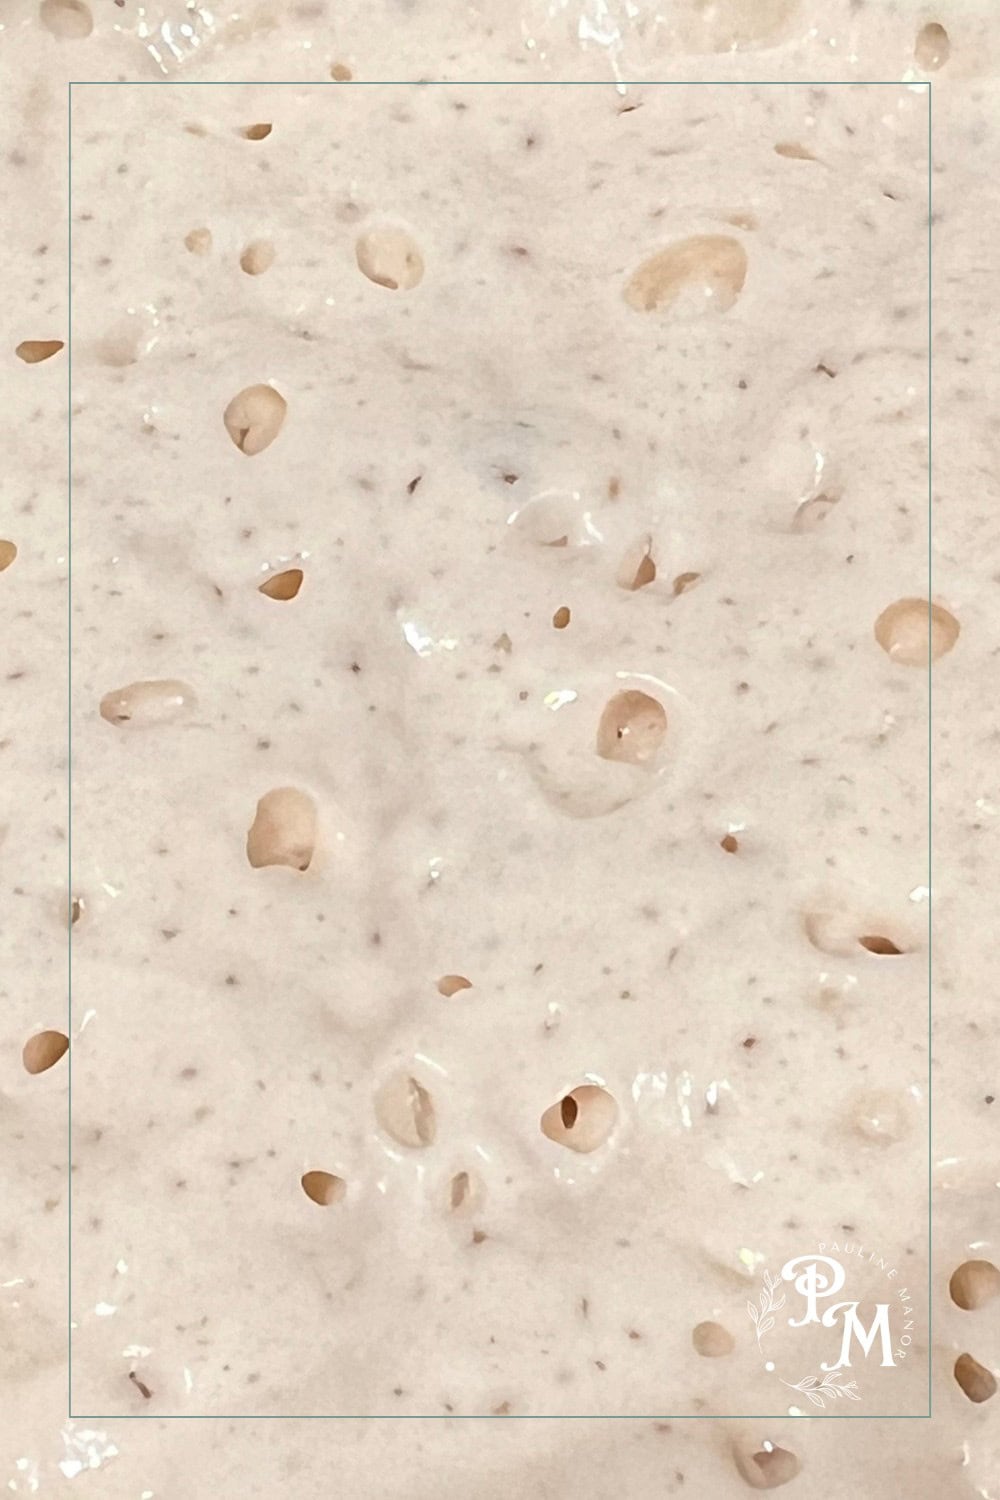
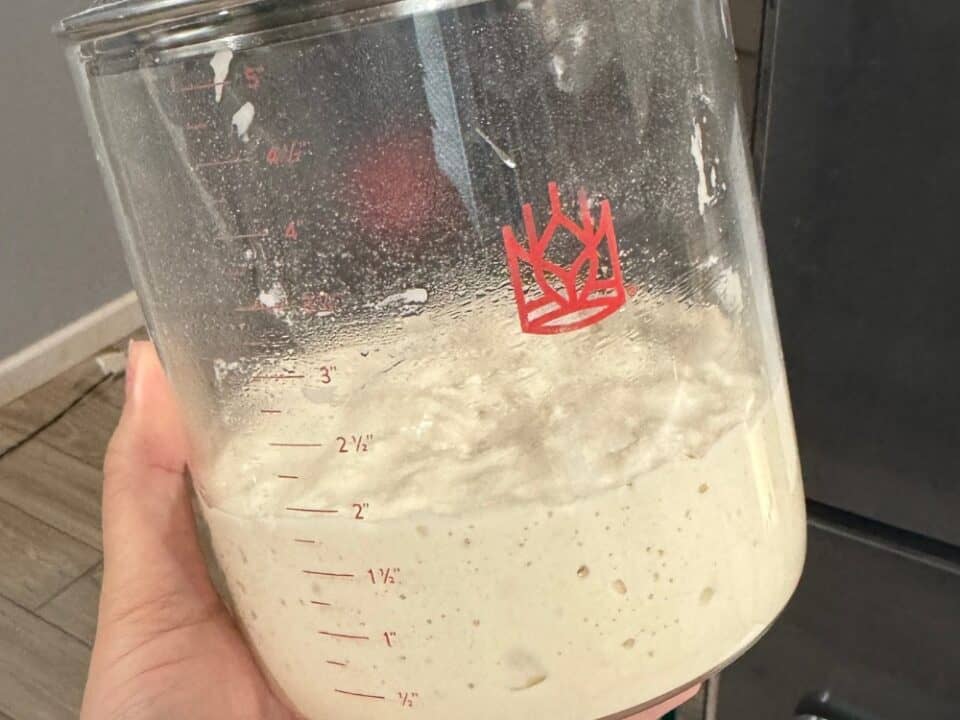
A strong starter doubles or even triples after a feeding. It smells slightly sweet and milky instead of sharp or vinegary. It looks bubbly, airy, and spongey. When you scoop it, it feels light and sticky instead of dense or pasty. And most importantly, it gives your dough the structure it needs so you are not fighting tearing, stickiness, or flat loaves.
If your starter is not doing these things, it probably needs a reset. Nothing dramatic. Just consistency and the right feeding routine.
Step One: Start With a Predictable Amount of Starter
Most starters struggle because the amount in the jar swings wildly from day to day. You do not need anything fancy to fix this. You simply need to know roughly how much starter you are keeping so you can feed it properly.
The easiest way to do this is to weigh your empty jar one time and write the number on the lid. Then, when you put the jar on the scale, you can subtract the jar weight and instantly know how much starter you have. Scoop out what you do not need, leave a workable base, and go from there.
For most home bakers, keeping around 50 grams of starter works well. For a bakery setup, you can keep a larger amount, such as 200 to 300 grams, so you have plenty to pull from.
Step Two: Use Consistent Feeding Ratios
Starters thrive with predictability. A simple 1:1:1 feeding makes a huge difference. That means equal parts starter, flour, and water by weight. If you want to strengthen your starter quickly, this is the easiest routine.
For example, if you have 100 grams of starter left in your jar, feed 100 grams of water and 100 grams of flour. Mix it well, scrape down the sides, and let it rise. This small switch alone makes starters noticeably stronger within two or three feedings.
If you bake a lot or need bigger batches, you can move to bakery style ratios like 1:2:2, which gives the yeast more fresh food and helps keep the acidity in check.
Ready to embark on your sourdough journey? Order our Dehydrated Sourdough Starter “Lola” and kickstart your baking journey today!
Step Three: Feed More Often for a Few Days
A weak starter usually needs a short reset. The simplest way to do this is to feed it twice a day for two or three days. This gives the yeast a fresh supply of food before the bacteria have a chance to take over and turn the starter too acidic.
A good schedule looks like this.
- Morning feed.
- Starter rises through the afternoon.
- Evening feed.
- Starter rises overnight.
By day three, most starters become noticeably puffier, sweeter, and faster to rise.
Step Four: Switch To Bread Flour While Strengthening
Bread flour makes a difference during the strengthening phase because it has more protein. More protein means stronger gluten and faster fermentation. Once your starter is stable, you can switch back to all purpose or blend the two. (Note: I always use breadflour for my starter, but this is totally a preference)
If your starter has been sluggish, dense, or tearing your dough apart, feeding with bread flour for a few days usually snaps it back into shape.
Step Five: Keep the Temperature Steady
Starters love warmth but hate big temperature swings. If your kitchen sits between 72 and 78 degrees, your starter will be happy. If you live somewhere warm and humid, your starter may ferment fast, which means it can run out of food too quickly and turn acidic.
If this happens, simply feed a little more flour and water than usual or shorten the time between feedings. You are not fixing a problem. You are matching your starter to your environment.
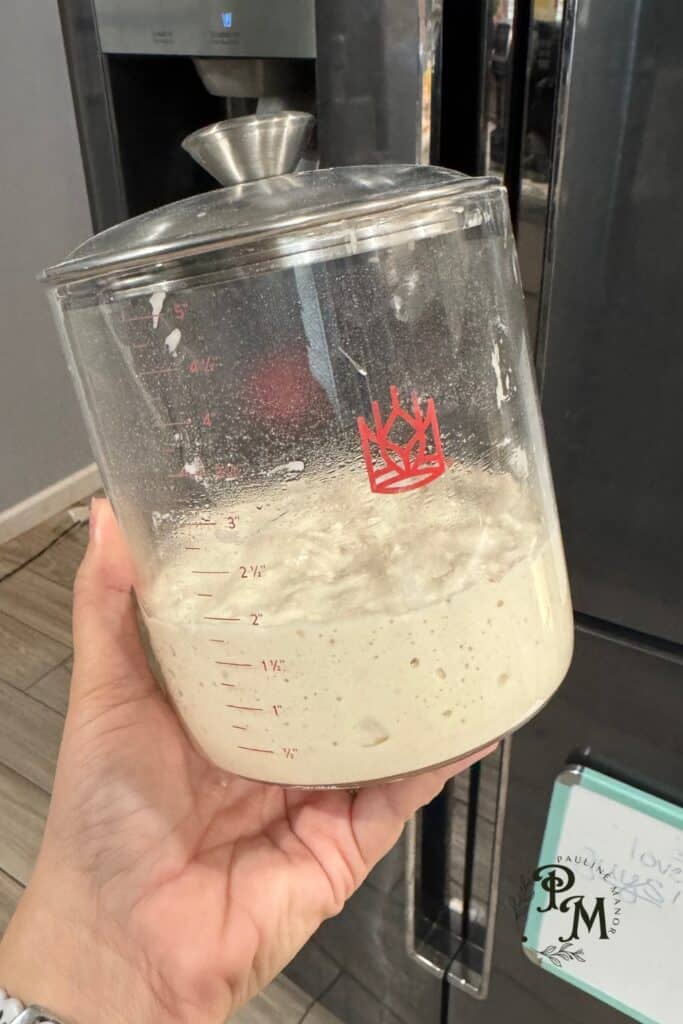
Step Six: Look, Smell, and Rise Are Better Than Tests
A strong starter does not need float tests or complicated steps. You will know it is ready when it looks tall and airy, smells pleasantly tangy, and feels alive when you stir it. If it rises to a peak and starts to fall, that is your cue that it is hungry again.
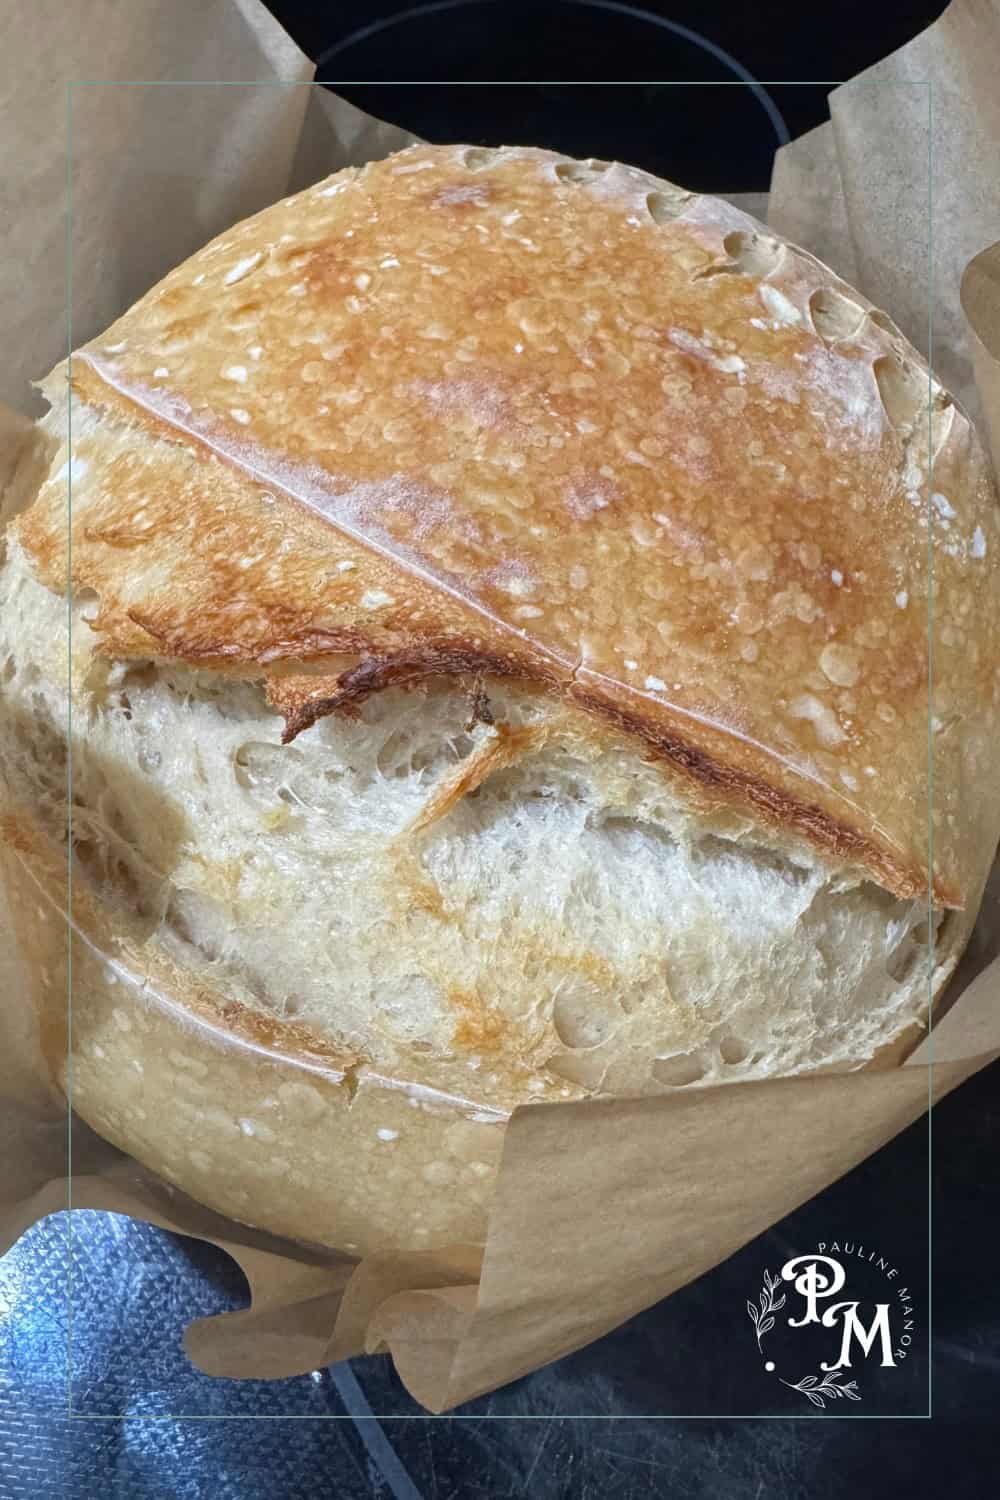
Remember, the goal is not perfection. The goal is consistency. Once your starter rises and falls at a predictable pace, you will notice your bread dough becoming stronger and easier to shape.
Step Seven: Keep Only What You Need
One of the easiest ways to weaken a starter is to keep too much of it. A large amount of starter needs a much larger feeding to stay healthy. If you do not feed enough, the bacteria build up and break down the gluten in your dough.
Keeping a smaller base means every feeding is strong, fresh, and balanced. This is why scooping out extra starter before feeding makes such a big difference.
Putting It All Together
Strengthening a sourdough starter is not difficult once you know what the starter is trying to tell you. A healthy sourdough starter needs consistent feeding, predictable amounts, steady warmth, and enough fresh food to stay balanced. With a few days of regular feedings and a simple routine, your starter will become stronger, lighter, and much more reliable.
