
How to Store Sourdough Starter
Keeping a sourdough starter happy is easier than it looks once you understand a few simple rules. Whether you bake every day or only when the mood strikes, knowing how to store your starter will save you time and keep your bread tasting its best. This guide walks through daily care, fridge storage, and long-term options so you can decide what fits your baking routine.
Understand What Your Starter Needs
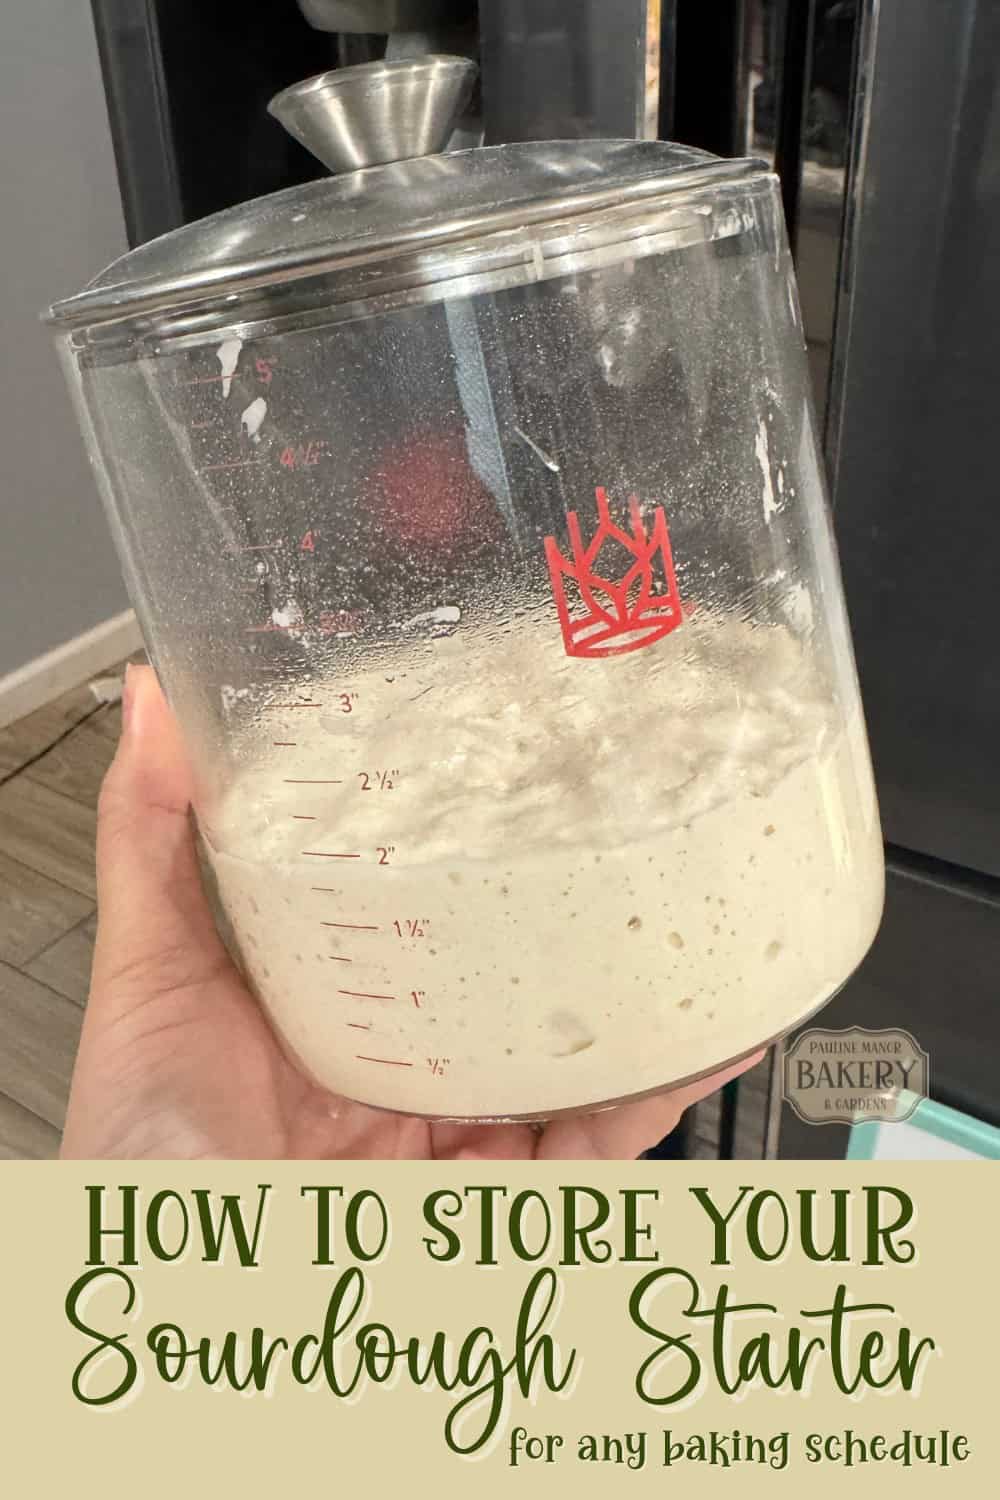
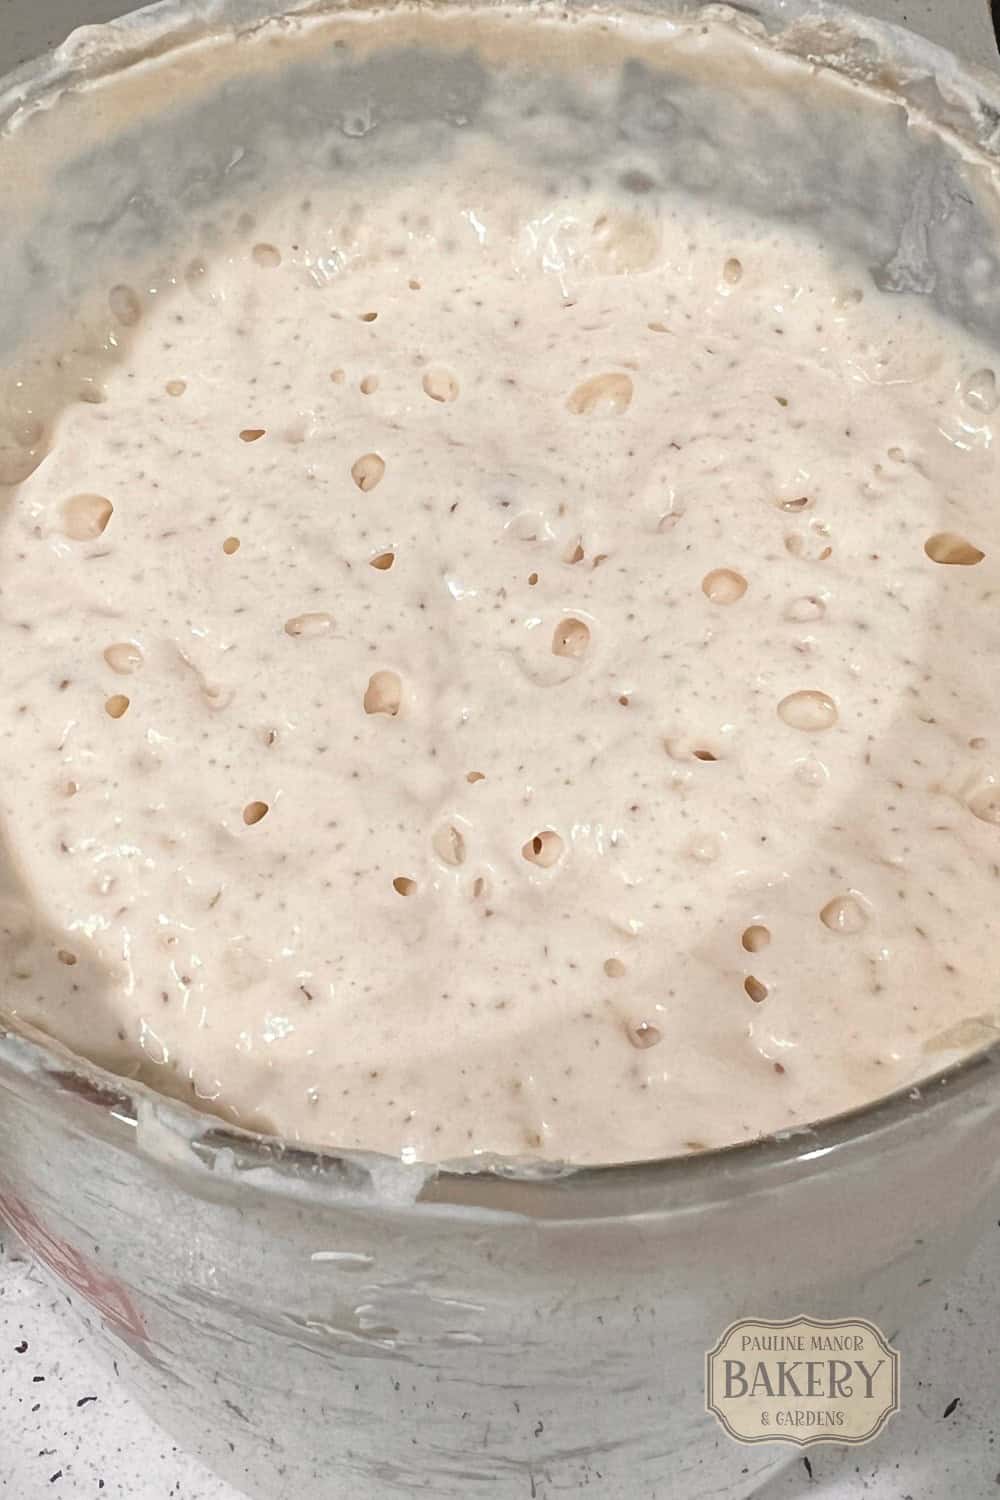
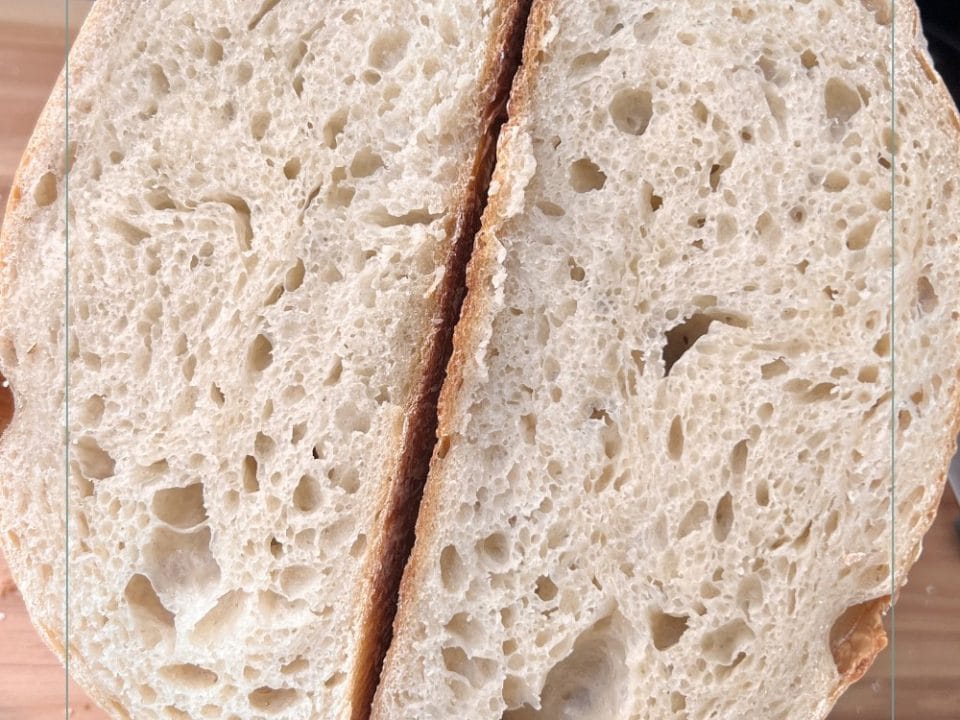
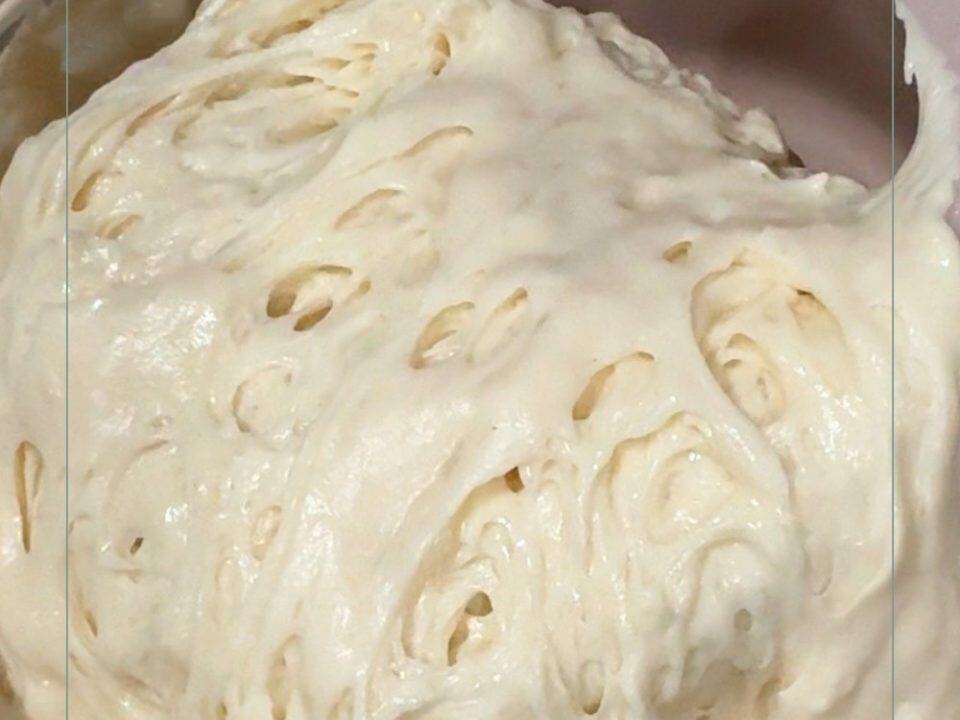
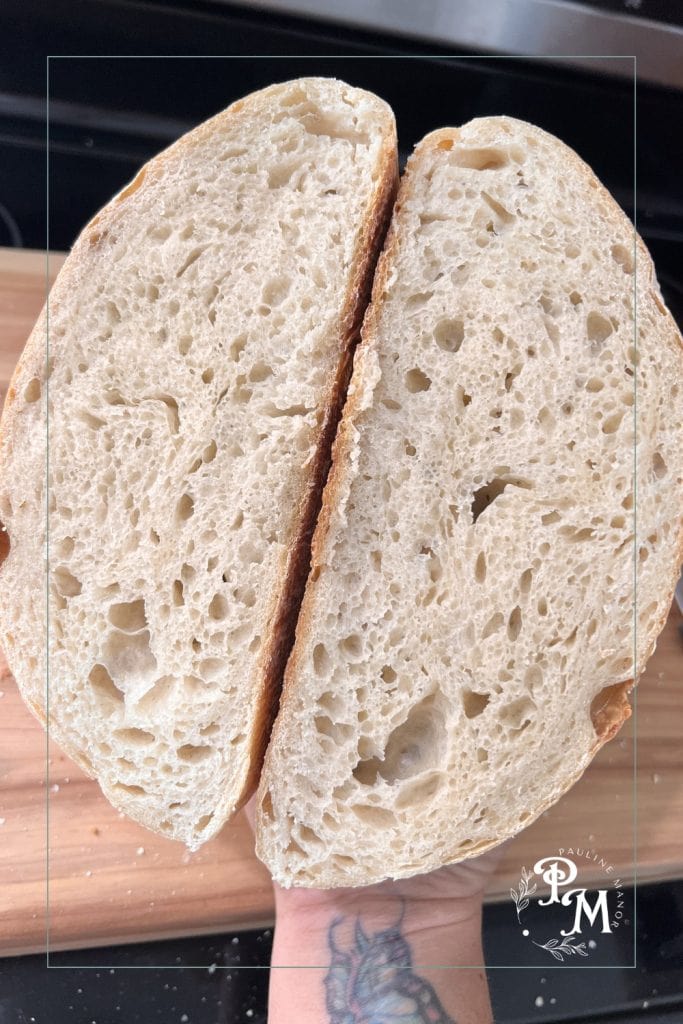
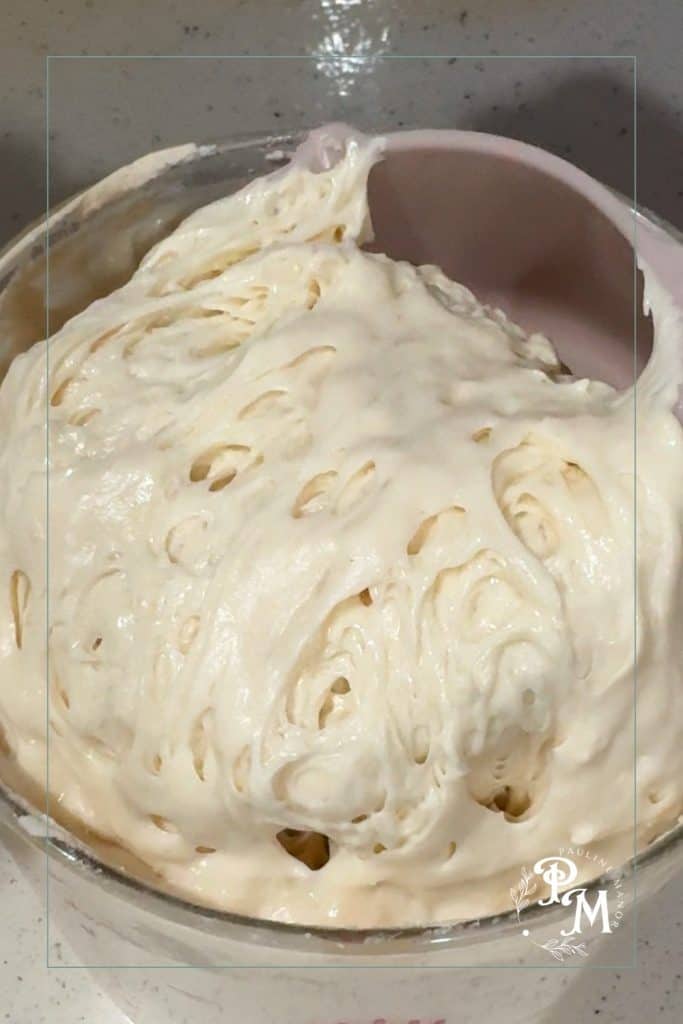
A sourdough starter is a living mix of wild yeast and friendly bacteria that feed on flour and water. As they eat, they release carbon dioxide and create that bubbly, tangy base every great loaf needs. To stay healthy, the starter needs regular feeding and a steady environment. The two main storage choices are room temperature and refrigeration, and the right method depends on how often you bake.
Room Temperature for Frequent Bakers
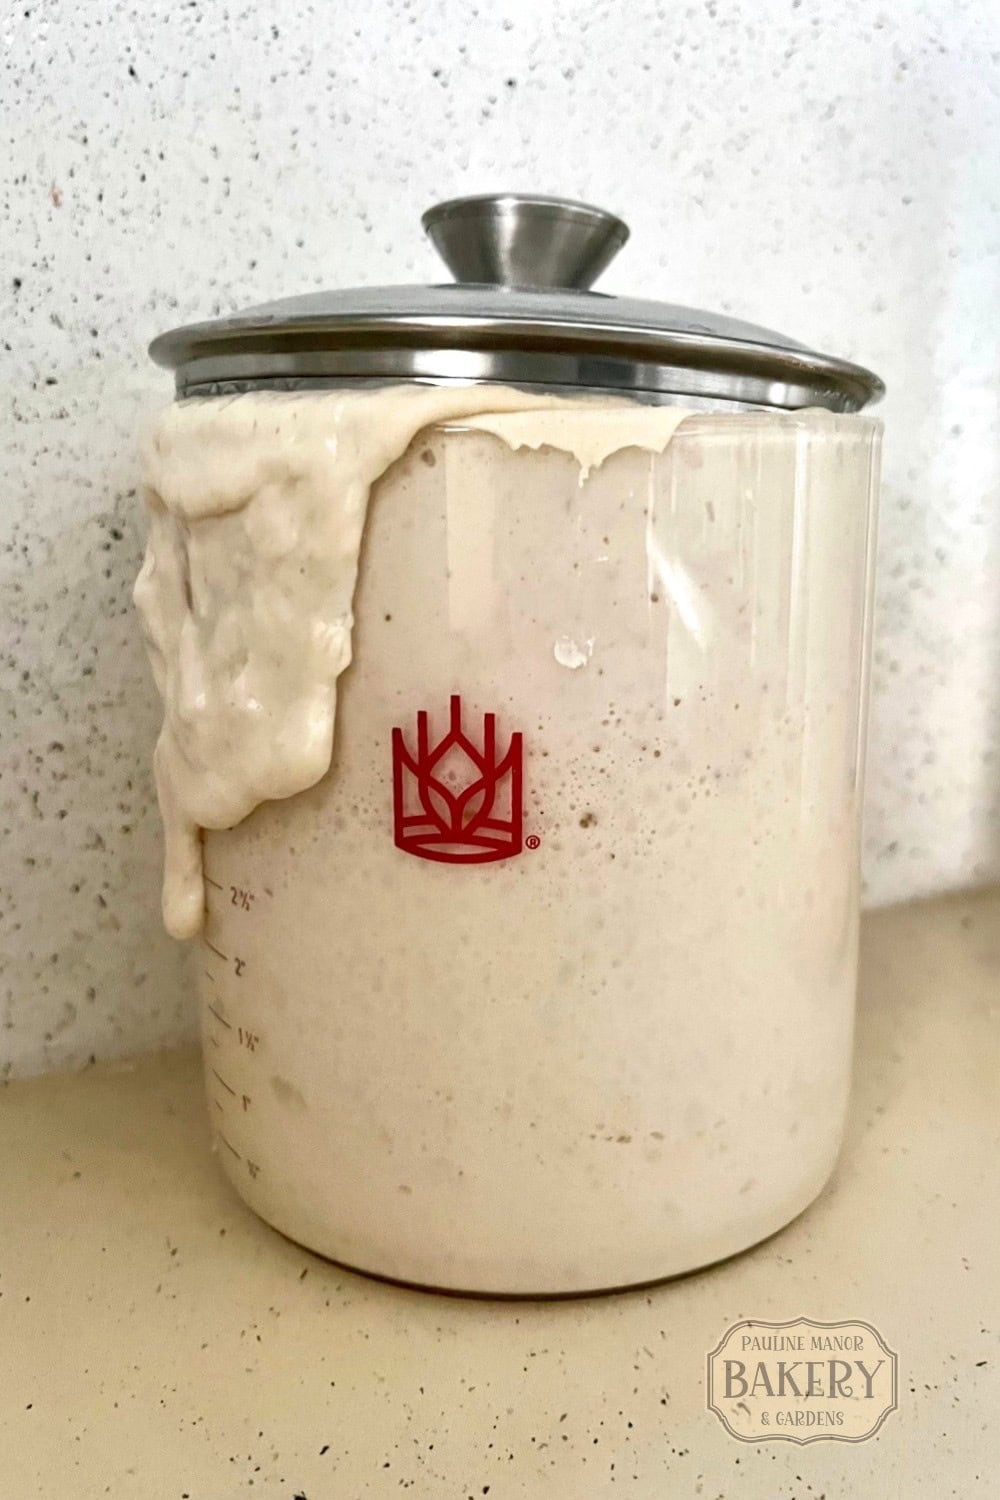
If you bake every day or every other day, keeping the starter at room temperature makes the most sense. Store it in a clean glass jar with a loose lid so it can breathe. Feed it once or twice a day with equal parts flour and water by weight. A room temperature starter is always active and ready to use, but it does require regular attention. Skipping feedings will leave you with a sluggish or sour smelling culture that needs extra care to bounce back.
Refrigeration for Casual Schedules
For most home bakers the fridge is the easiest option. A cool environment slows down fermentation so you can feed the starter only once a week. To store it, feed as usual, let it rise for a couple of hours, then cover it loosely and place it in the refrigerator. When you are ready to bake, take the jar out a day in advance and give it one or two feedings at room temperature to wake it up. If you see a thin layer of gray liquid on top, called “hooch,” just stir it in or pour it off before feeding. The starter is still fine.
Long Term Breaks or Vacations
Going on a long trip or taking a baking break? You can dry or freeze a starter for safekeeping. To dry it, spread a thin layer on parchment and let it air dry until brittle, then store the flakes in an airtight container. Rehydrate later with equal parts water and flour. Freezing works too. Feed the starter, let it double, and freeze small portions in a sealed bag. Thaw in the refrigerator and refresh with a couple of room temperature feedings before use. These methods give you a backup in case your regular jar has a mishap.
Best Containers for Starter Storage
Choose a container that is easy to clean and allows space for the starter to rise. Wide mouth glass jars are popular because you can see the bubbles and growth. A loose fitting lid or a cloth secured with a rubber band keeps dust out while allowing gases to escape. Avoid metal containers since acid in the starter can react with metal over time.
Tips for a Healthy Starter
Always use clean utensils and fresh flour when feeding. Stick to a regular schedule whether you keep it on the counter or in the fridge. If the starter smells strongly of alcohol, vinegar, or has visible mold, it is safer to start over. For fridge storage, set a reminder to feed it once a week even if you are not baking. Consistency keeps the yeast and bacteria balanced and your bread rising high.
Bringing It Back to Life
If your starter has been neglected, a few room temperature feedings will usually revive it. Discard most of the old starter, feed with fresh flour and water, and keep it warm. Within a day or two you should see bubbles and a pleasant yeasty smell. Patience is key. The natural organisms are hardy and often bounce back after a little care.
Final Thoughts
Storing a sourdough starter does not have to be complicated. Decide how often you bake, pick the storage method that fits, and keep a simple feeding routine. With a clean jar and regular attention, your starter can live for years and even become a family heirloom. Whether you are an everyday baker or a weekend bread maker, proper storage means you will always have a bubbly, ready-to-go culture waiting for the next loaf.