
Home Apothecary Supplies
Welcome to my home apothecary supplies page. If you found your way here from the Beginner's Guide to a Home Apothecary, hi again. Everything on this page corresponds directly to what I recommend in the guide, organized the same way, so you can find what you need quickly.
If you haven't seen the guide yet, this is the companion shopping page to my complete beginner's guide to building a home apothecary from scratch. You can find everything you need to know about getting started, including what to make first, which herbs to learn, and how to actually use all of this stuff, right here.
Everything I recommend on this page is something I actually use. I don't list things I haven't tried or wouldn't buy again. Affiliate links are used throughout, which means I may earn a small commission if you purchase through my links at no extra cost to you. That's what keeps this site going and allows me to keep making free content, so thank you.
Quick Jump To Links:
The Containers | The Tools | The Base Ingredients | The Herbs | The Notebook | Nice To Have
The Containers
The right containers make everything easier and keep your preparations fresher longer. Here's what I use and what I recommend for each purpose.
Glass Jars with Tight Fitting Lids
Mason jars are the backbone of any home apothecary. Wide mouth jars are easier to fill, easier to clean, and easier to scoop from. I use them for storing dried herbs, making infusions, and pretty much everything else.


Small Amber Glass Bottles
For finished oils, tinctures, and anything you want to protect from light degradation. Two ounce dropper bottles are the most versatile size.


Small Tins for Salves
Metal tins are ideal for salves and balms. They're lightweight, portable, and make your finished preparations look intentional rather than improvised.


The Tools
You probably have most of these already. The ones you don't are inexpensive and worth having.
Cheesecloth and Fine Mesh Strainer
You will strain something almost every time you make a preparation. Having both gives you flexibility for different jobs.


Small Funnels
Trust me on this one. You will pour hot infused oil directly onto your hand at least once without a funnel. A set with both wide and narrow mouth covers every situation.

Set of 3, Food Grade Mini Metal Kitchen Funnel for Transferring Essential Oils, Liquid, Fluid, Small Funnels for Filling Bottles Flask Cooking
Digital Kitchen Scale
Essential once you start making salves. Measuring beeswax by weight is far more reliable than by volume.

Mortar and Pestle
Not strictly essential but deeply satisfying and genuinely useful for grinding herbs and blending preparations.

Labels and Permanent Markers
Label everything. Every jar, every time, without exception. Masking tape and a Sharpie is the most practical everyday system. Or if you want to get a little fancy, that works too.


The Base Ingredients
These are the foundations everything else is built on. Quality matters here more than anywhere else.
Raw Honey
Raw honey is one of the most important things in your apothecary. If you can source this locally or even make your own, that is ideal, but you can also purchase it online. Make sure it says raw on the label. Pasteurized honey will not do the medicinal work that raw honey does.

Raw Apple Cider Vinegar
You want the kind with the mother, which looks cloudy or has wispy strands floating in it. Bragg is the most widely available option.

Carrier Oils
Start with olive oil. Add others as you develop specific recipes that call for them.


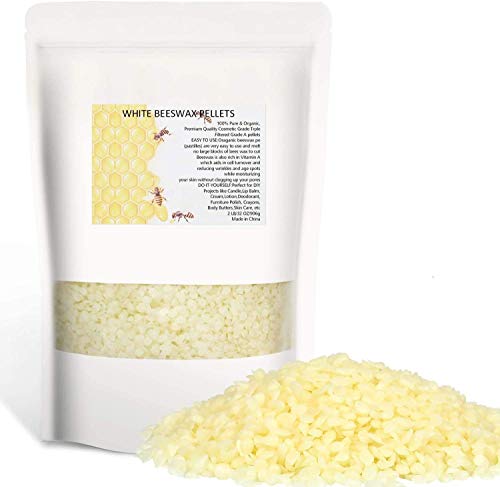
Beeswax Pellets
Pellets are far easier to work with than a block. Yellow beeswax has a pleasant honey-like scent. White is more neutral if you want the herb scent to come through clearly.

The Herbs
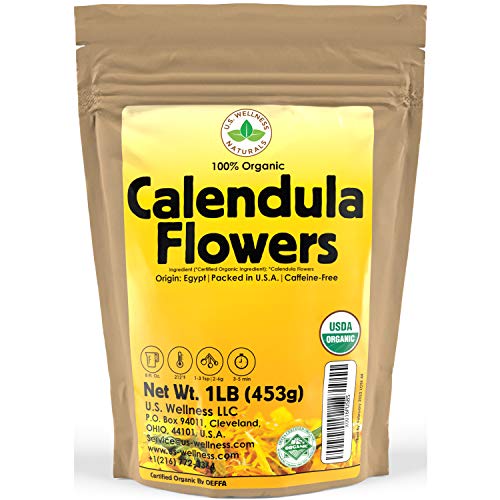
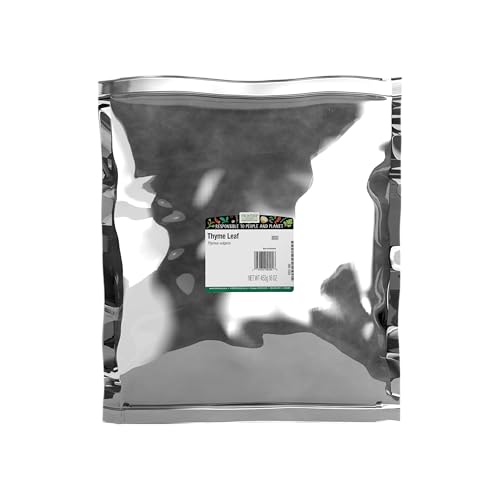
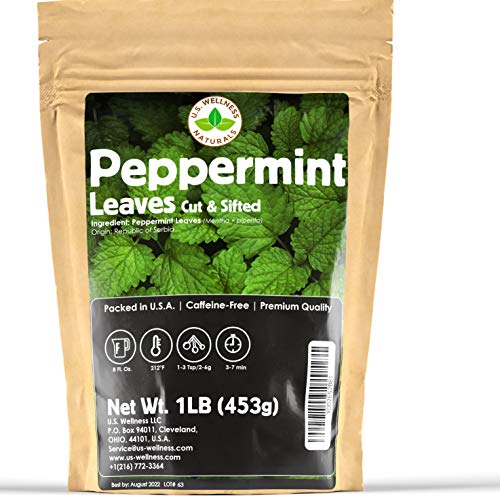
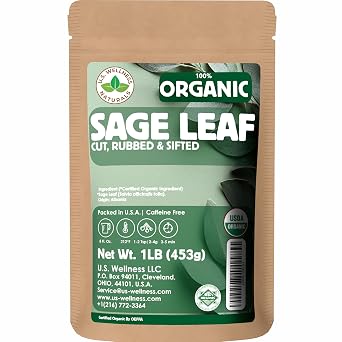
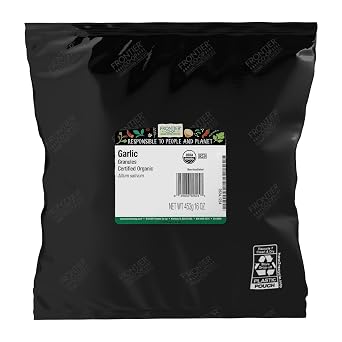
Quality matters more than quantity when it comes to dried herbs. Buy from reputable sources, look for vibrant color and strong scent, and start with five rather than ten. I recommend ordering from Amazon for convenience, though if you have a local herb farm or farmers market nearby that is always my first choice, but I have liked (and reordered) from these two specific brands on Amazon.
The Core Five to Start With
These five cover sleep, skin, immunity, and respiratory support. If you're just getting started, begin here.



The Full Ten
Once you have the first five down, add these to round out your shelf.


The Notebook
Every experienced herbalist will tell you the same thing. Keep a notebook. It doesn't matter what kind. What matters is that you use it consistently and honestly to record every preparation you make, what worked, what didn't, and what you'd do differently next time.


Nice To Have Items
These items are not essential but are worth having once you're making things regularly. I have found them helpful in my own practice - even if I only use them a few times a year.
Dedicated Melting Pot
Once you start making salves regularly, a dedicated wax melting pot is worth having. Beeswax is stubborn to clean off anything it touches, so keeping one pot designated for apothecary work means you're not ruining your good cookware. This one has a built in thermometer and a pour spout which makes the whole process significantly less messy than improvising with a double boiler setup. It's what I actually use and it makes salve making noticeably easier.

Food Dehydrator
If you live somewhere humid like Northwest Florida, a food dehydrator is one of the most useful tools you can add to your practice. Air drying herbs in humidity is unreliable. This solves that completely.

Grow Lights
For starting seeds indoors or keeping herbs going through winter on a windowsill. (The ones I have are no longer available - this is the closest I can find to the ones I have!)
