How to Make Sourdough Starter from Scratch
Making your own sourdough starter from scratch is surprisingly easy and really rewarding. Here’s a simple guide to get you started on traditional bread making, even if you’re a beginner. Let’s dive into making your very own sourdough starter!

This post may contain affiliate links, which means if you click through and purchase, I may receive a commission at no cost to you. As an Amazon Associate, I earn from qualifying purchases.
What You'll Need to Start
First things first, let's gather all the things you need:
- Bread flour: It's got more protein than normal flour which is great for feeding the yeast.
- A clean jar: This will be the new home for your starter.
- Warm water: Helps kickstart the yeast.
- A kitchen scale (for best results)
- A spoon or spatula for mixing
- A cloth or paper towel to cover the jar
Step 1: Mix It Up
Day one is all about getting things ready. In your clean jar, mix 100 grams of bread flour with 100 grams of warm water. Stir it until smooth and lump-free. This mixture will start to attract natural yeast from the air, which is crucial for the next steps.
Loosely cover the jar with a cloth or paper towel. This setup allows your mix to breathe and capture wild yeast while keeping out dust and debris. Place the jar somewhere at room temperature, in a spot that’s warm but not hot.
Step 2: Feeding Time
Over the next week, your main task is to feed your starter every day. Here’s what to do:
- Each day, remove and discard about half of your starter. The bit you discard is called “sourdough discard,” and you can save it for other recipes.
- Add 100 grams of bread flour and 100 grams of warm water to the jar.
- Mix everything until it’s smooth.
Discarding some of the starter prevents it from getting too crowded. This keeps the yeast and bacteria happy and active, ensuring there’s always enough food in the jar.
Step 3: Watch the Magic Happen
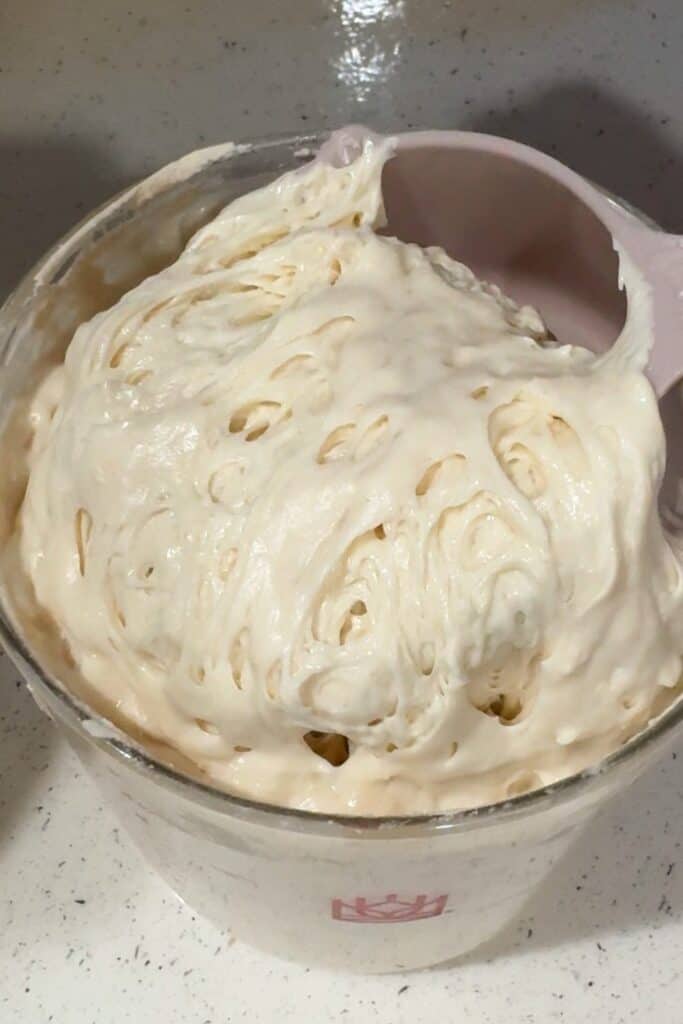
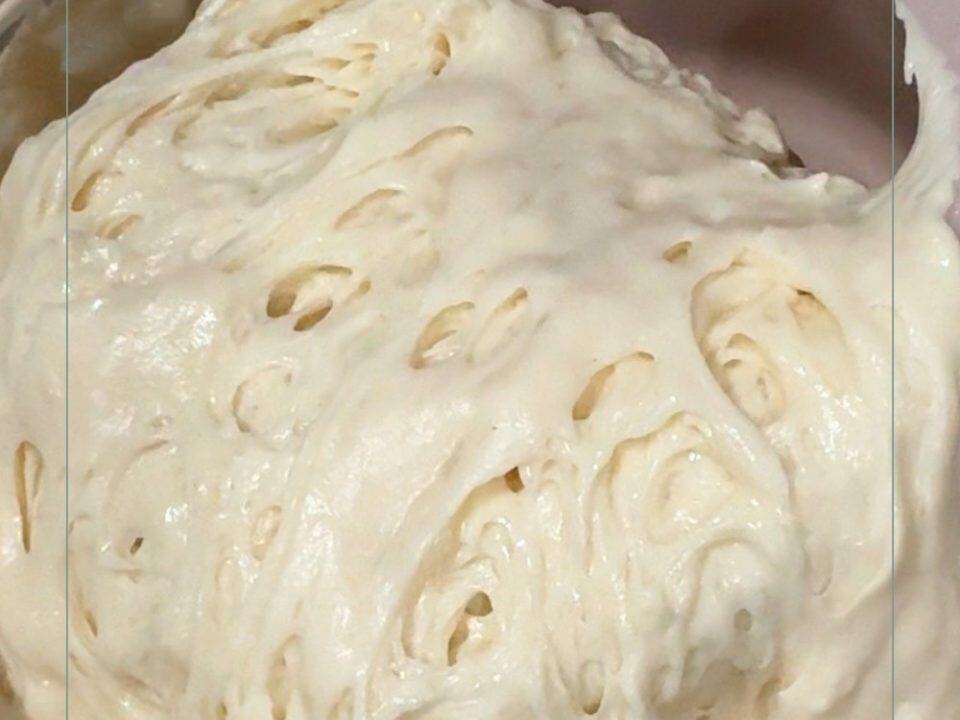
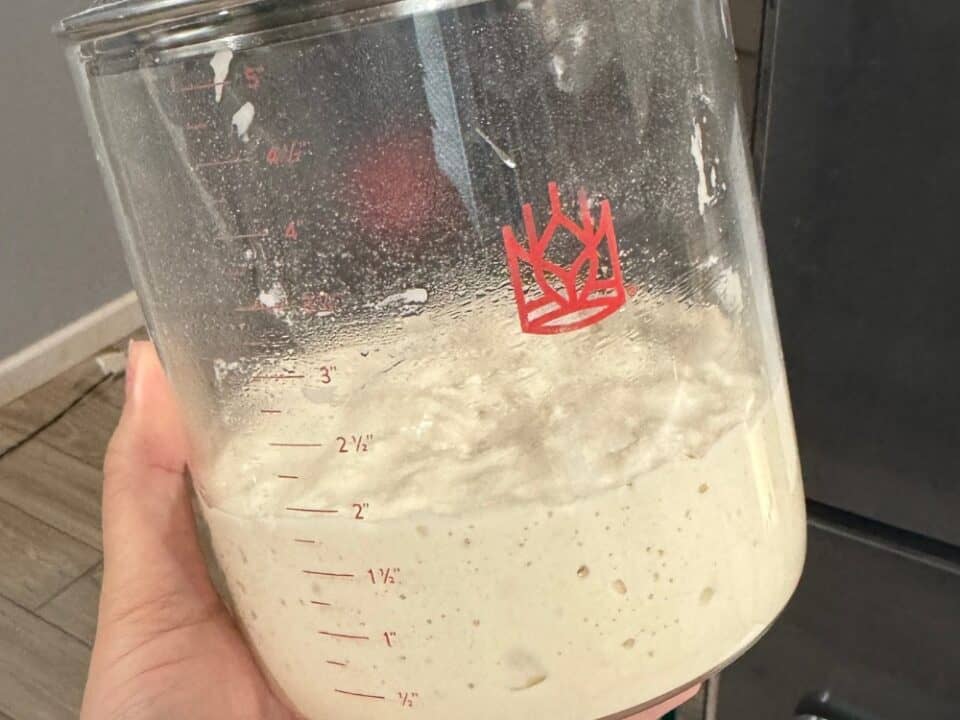
In the first few days, you’ll see some bubbles and smell a mild, slightly tangy aroma. This is a good sign—it means your yeast is active and the starter is fermenting.
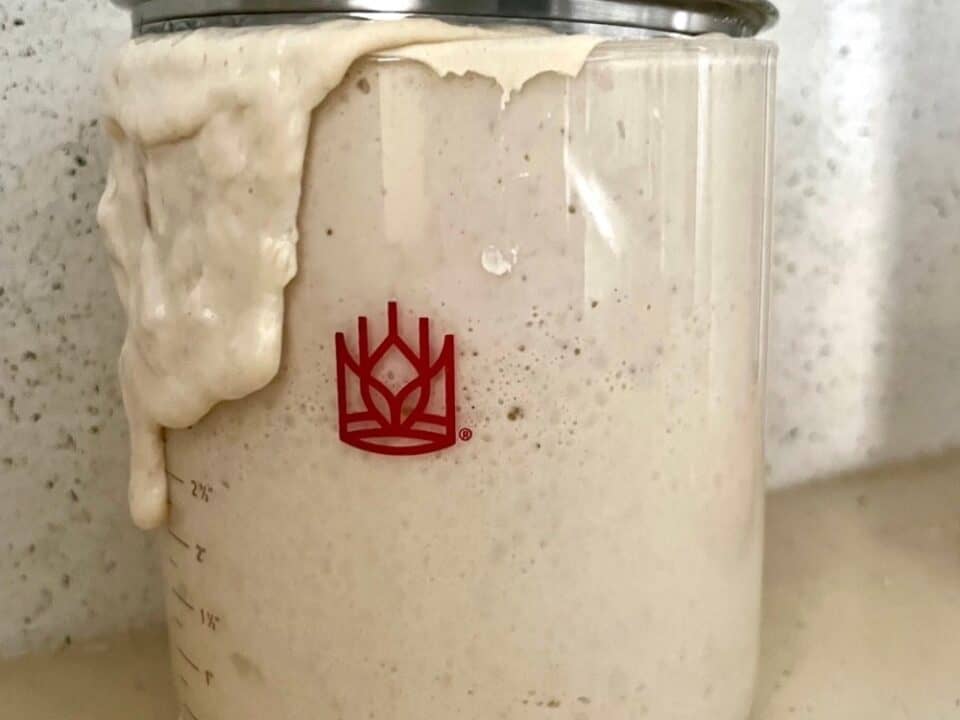
The activity will increase over the next few days. You'll see more bubbles and the mix will rise. The smell will become stronger and sourer. This is your starter developing its own unique flavor and character!
Step 4: Keeping It Going
Once your starter is bubbly and nearly doubles in size a few hours after feeding, it’s ready to use for baking. This usually takes about a week, but timing can vary based on your kitchen’s temperature.
To maintain your starter, you can feed it daily at room temperature, or keep it in the fridge and feed it once a week. If you go with the fridge, just remember to let it warm up and feed it before you bake.
Check out my Complete Guide To Sourdough Starter.
Wrapping Up
Congratulations! You’ve just created your own sourdough starter—a jar full of potential that can transform flour and water into delicious bread. Each starter is unique, so enjoy experimenting and seeing what yours can do.
With these simple steps, you’ve not only created a valuable ingredient but also tapped into an age-old baking tradition. Enjoy your bread-making journey!


